Overview
This tutorial will take you through the steps of adding conditional logic in the app that will hide the app on page load. Before starting this tutorial we recommend that you already have reviewed the following tutorials; Setting up Conditional Logic, Setting-up-Field-Groups, and Getting-Started with Image Customizer.
Hide on Load
1. Field Group
On the field groups page, select the field group used for your Image Customizer and choose Form Editor from the drop-down menu. If you have not yet created a field group for the product. Go ahead and create one at this time.
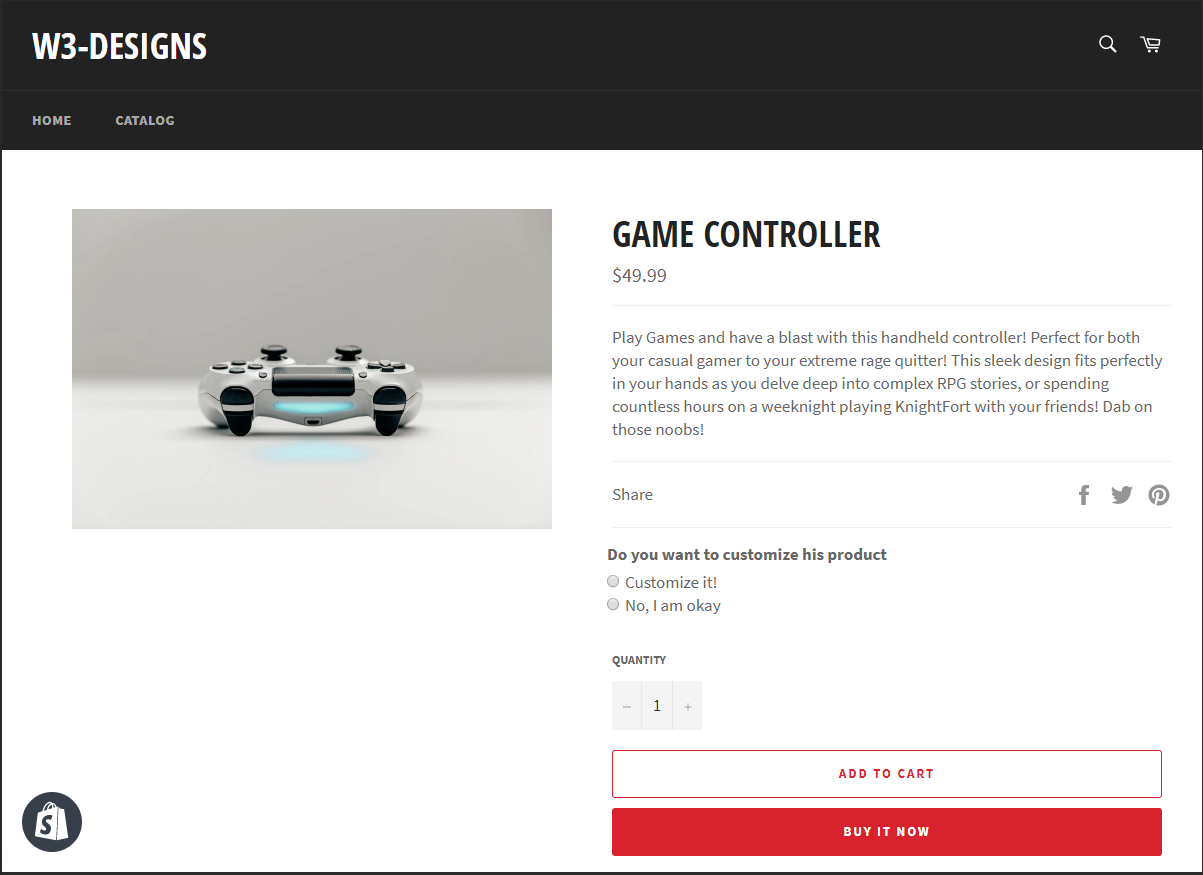
2. Create a Required Option Field.
Add an option. Either any of the following; drop-down, radio buttons, or check-boxes. This option will control either to show or hide the customizer.
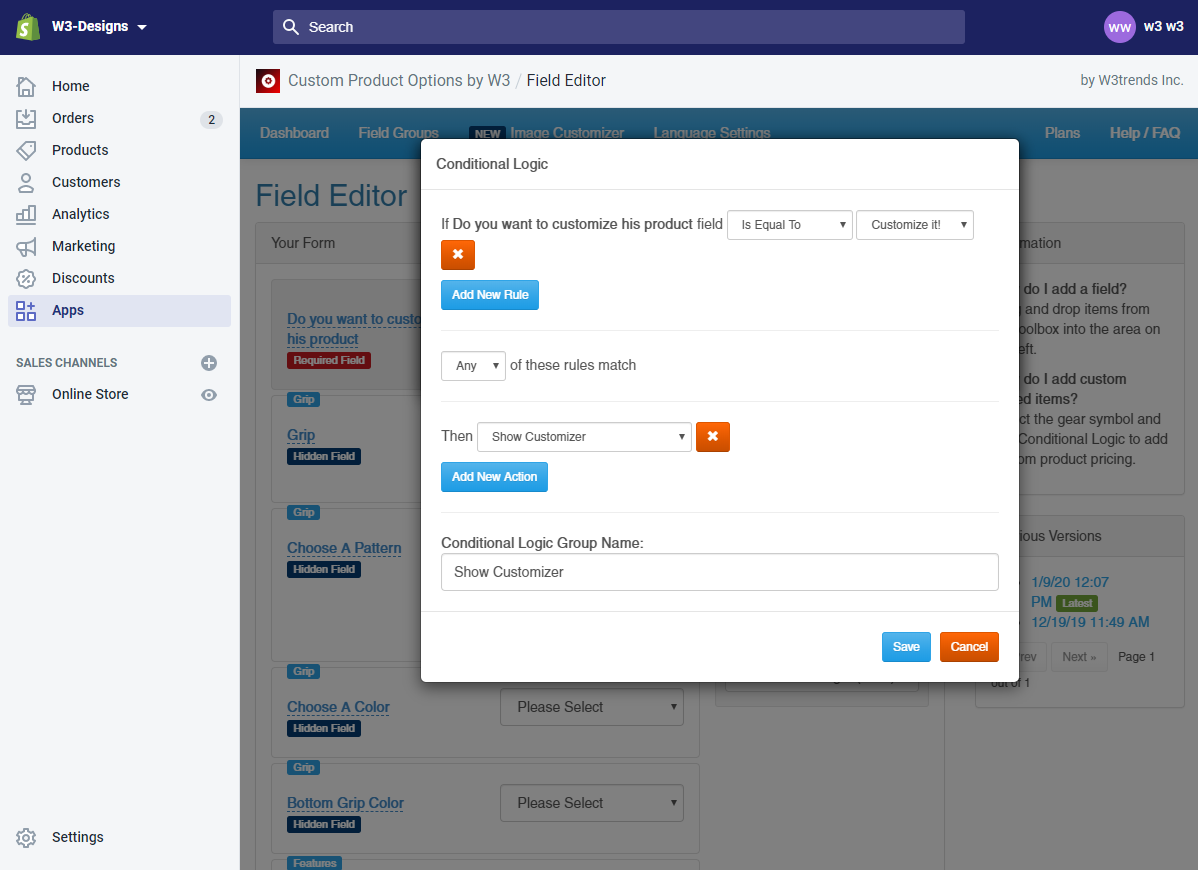
3. Add Conditional Logic
On the option, open the conditional logic. Add Show Customizer as an action for when the option is selected. Click Save when finished adding conditional logic.
4. Save the Form
Click Save Form when you are done adding options to the field group.
5. Image Customizer Setup
Navigate to the Image Customizer page from the apps navigation. If you already have created an Image Customizer for the required product, click the Edit button. Else, create a new Image Customizer for the required product. See this tutorial, Getting-Started with Image Customizer, for more information how to achieve this.
6. Enable Hidden on Load
In Step 1 of the Image Customizer setup, Click the Enable checkbox for the option of Hidden On Load. This will look for the option to show from the field group.

7. Save the Customizer
If you already have completed the set up of the Image Customizer for the required product, proceed to Step 3 and click Save to commit the changes. Else you will need to finish setting up the Image Customizer before saving.
Finished
Your changes should now be applied to the product. If you have any questions feel free to reach out to us at support@w3trends.com.