
Overview:
The conditional logic is the brains of our app, and allows our fields to create actions depending on a users selection of the field groups. A user's selections can trigger a Boolean response that our app is able to accept and perform a predetermined action depending on a users response to the form. This tutorial will cover the basics of our apps conditional logic and how to set it up.
If you have questions or need help setting your conditional logic please feel free to reach out to us at support@w3trends.com
Setting Up:
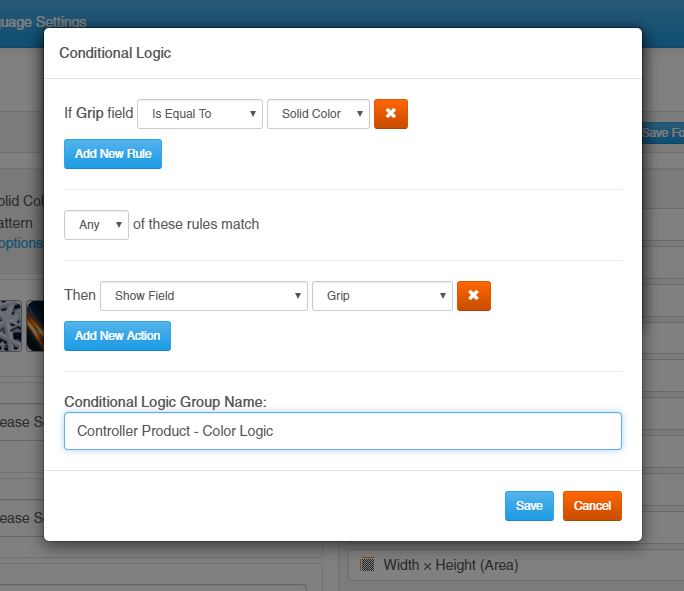
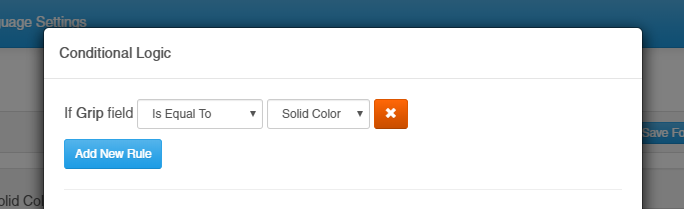
To set up the conditional logic in our app, create a field group and set up some form fields. Be sure to implement and replace the placeholder option names, as these will need to be created in order to create rules. After setting up your desired fields, click the gear icon on the desired field you want to add logic to. From the drop-down menu select conditional logic. The Conditional logic dialog box will appear on the screen. If you change an option name after setting up conditional logic, you will need to re-select the option name as the option have been deselected since it no longer exists.
Conditional Logic Rules:
If the field name is equal or not equal to the value of the option from the field. This allows you to check if a statement is either true or false. By checking the validity, you can then create an action according to the selection given. Depending on your field group, if you are adding logic to multiple options you have the ability to check for various options either being selected or deselected.
ALL / ANY:
If utilizing multiple IF statements in your conditional logic, this option allows you to either set that ALL or ANY of the rules will pass as true. If the conditions don't match then the logic will pass as false.
If the ALL is selected, then all the options must be true in order for the field to pass as true. If not the conditional logic will return as false.
If ANY is selected then any of the options would pass as true.

Actions:
Actions are what the conditional logic will fire after passing as true. You can fire multiple actions at once depending on the rules set up by you. All the actions listed below can be triggered by our conditional logic.
- Show Field
- Hide Field
- Show Field Group
- Add Product
- Show Customizer
- Show popup Window With Info

Show field:
If the conditional logic passes as true then the form will display a field selected here on the page.
E.g. If you want to ask a question that will determine a color palette to choose from you can achieve that through showing an option.
Hide Field:
This option allows you to hide a field from a user if the conditional logic returns as true. This action can be used to hide a previously visible field. Be sure not to hide field inputs that would prevent a user from changing a previous selected option.
E.g. This action works similar to the show field and can work together accordingly.
Show Field Group:
To display another field group If you are organizing your forms into more manageable sections with multiple field groups. You can set the conditional logic of a form to show the other field group here
E.g. You have a hidden field that controls color options. You can use this logic to show the field group on a field that asks them if they want to add color.
Add Product:
This action is used to create an additional cost to a product. Such as to add an extra charge for a monogram, gift-wrapping, or shipping. You will need to create these additional cost product in the Shopify admin. Our app does not create these products.
For more information about assigning additional costs to fields, check out this article.
(Adding An Extra Charge For Different Options)
Show Customizer:
This option will allow you to load the Image Customizer on a field selection instead of having it load first with the page.
E.g. With the Image customizer to hidden on page load. A field can be used to load the customizer after a certain selection from the user. Having a dropdown or another selector that allows a user to choose either to have a customizer or not can add some dynamics to the page.
Show Popup Window With Info:
Use this option to open another web page inside of the pop-up. Shopify prevents any page hosted on it's servers from being displayed inside of an iFrame, so this feature is best used for URLs that are not in your Shopify Website
Show Popup Window With Image:
Use this option to display an image in a pop-up. This image can be hosted on your site or any other image that is accessible through a URL.
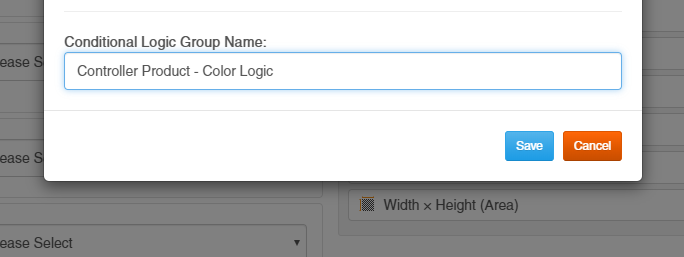
Conditional Logic Group Name:
The Conditional Group name is not visible to the users of your site. It is highly recommended that you use proper naming conventions so you can easily know which conditional logic controls what.
Editing/Deleting Conditional Logic:
If you need to go back and make changes to your conditional logic on a product you can. Select the field that has the conditional logic applied and select to make it active. Click on the gear icon in the top right and select the conditional logic option from the menu. Here you will be able to either delete, edit or add new logic to the field. If you want to edit the logic click the edit button to pull up the logic settings. After making your changes click save to commit. If you are trying to delete the logic from a field please be certain you are removing the correct logic. Deleting logic is permanent and irreversible from the admin.
