
This is an advanced tutorial and will require some knowledge of your theme's HTML/Liquid.
This functionality is only available on the Product Options Pro plan.
Overview
Please keep in mind that the Image Customizer assumes that you have already completed the Product Options Classic installation tutorial, and will not work unless that tutorial has been completed. Here are some links to our Custom Product Options Classic tutorials:
Auto Install Compatibility:
We have written some code to auto install the Image Customizer into many of the most popular themes! Please head into our app, click on the Product Image Customizer tab, and take a look at the box on the bottom of the page.
If this box looks like this, then you're set! you will not need to continue the installation tutorial!

If your box looks like this one, then you will need to continue along with the tutorial.

If you are using one of the themes at the link below, then it is still possible to Auto Install the code so that you do not have to manually make these changes. Sometimes when a theme is exported, and re-imported, the Theme ID changes, causing the Auto Installer to not recognize the theme. But we can correct this by adding the variable located at the link below that correlates with your theme! Please find your theme, and add the code beneath it just before the closing </head> tag in your theme.liquid file.
https://w3trends.zendesk.com/hc/en-us/articles/360024989731
Backing Up Your Theme:
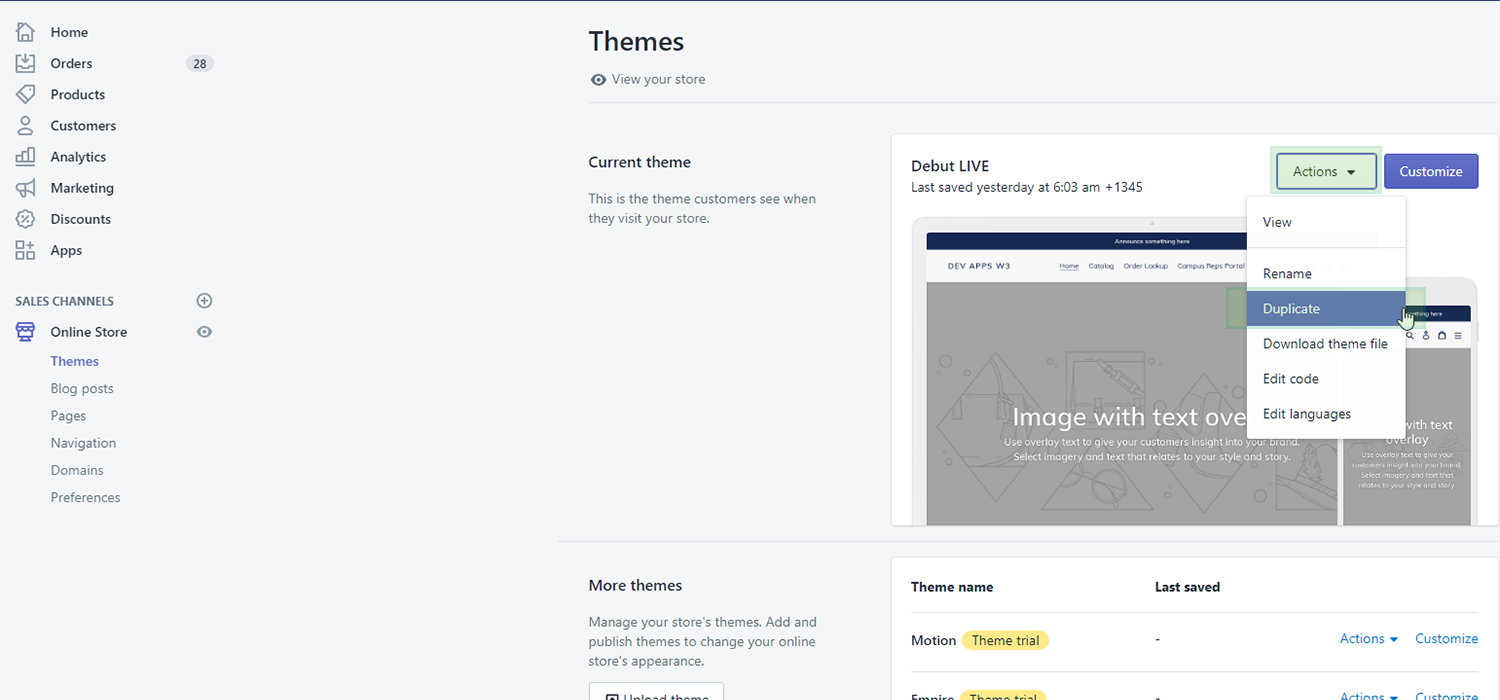
First and foremost, it is always good practice to duplicate your theme before making any changes to your theme files. That way, if at any point you wish to revert these changes, you can simply publish the duplicated theme and things are back to the way they were previously.
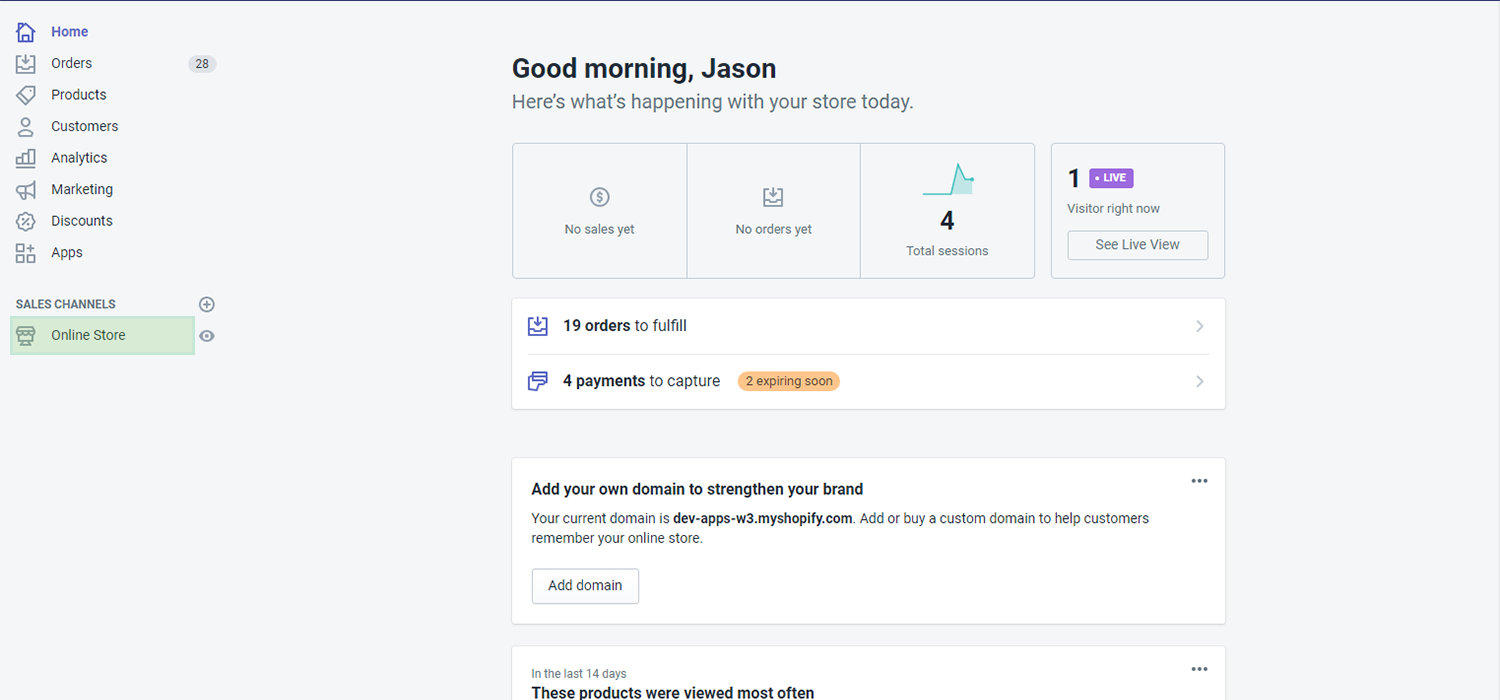
You can do this by clicking on the "Online Store" link in the left hand side of your Shopify admin, and then clicking "Actions" > "Duplicate" next to the theme you wish to make the changes on.
It is also good practice to rename the newly duplicated theme with a descriptive name.
Modifying Your Product Template:
In order for your theme to retain it's original functionality, while also offering the option of having products with Image Customizers, we will need to edit your Product Template to look for a specific product tag. If you're viewing a product which has the "W3-Product-Customizer" tag, our Customizer will show up!
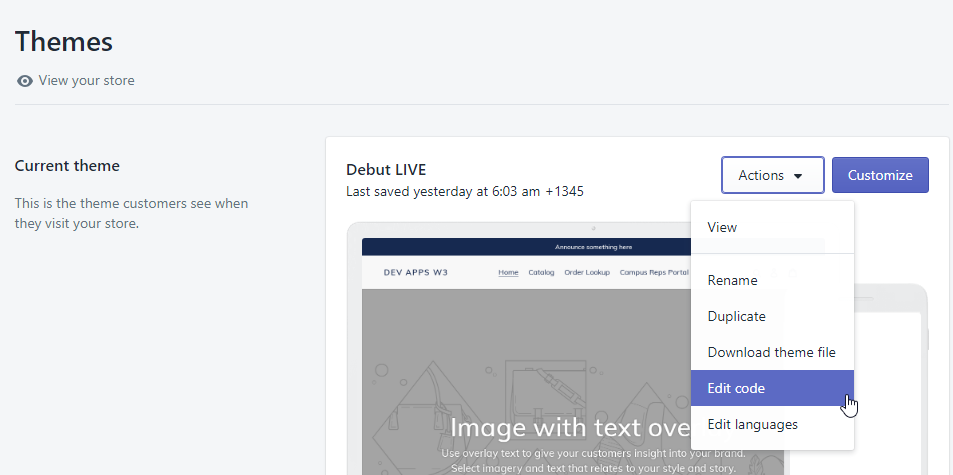
Click on Actions next to the theme that you would like for our app to be installed on.
In the Dropdown list that appears, click on "Edit Code". This will take you into your theme files where we will be Modifying Your Product Template.
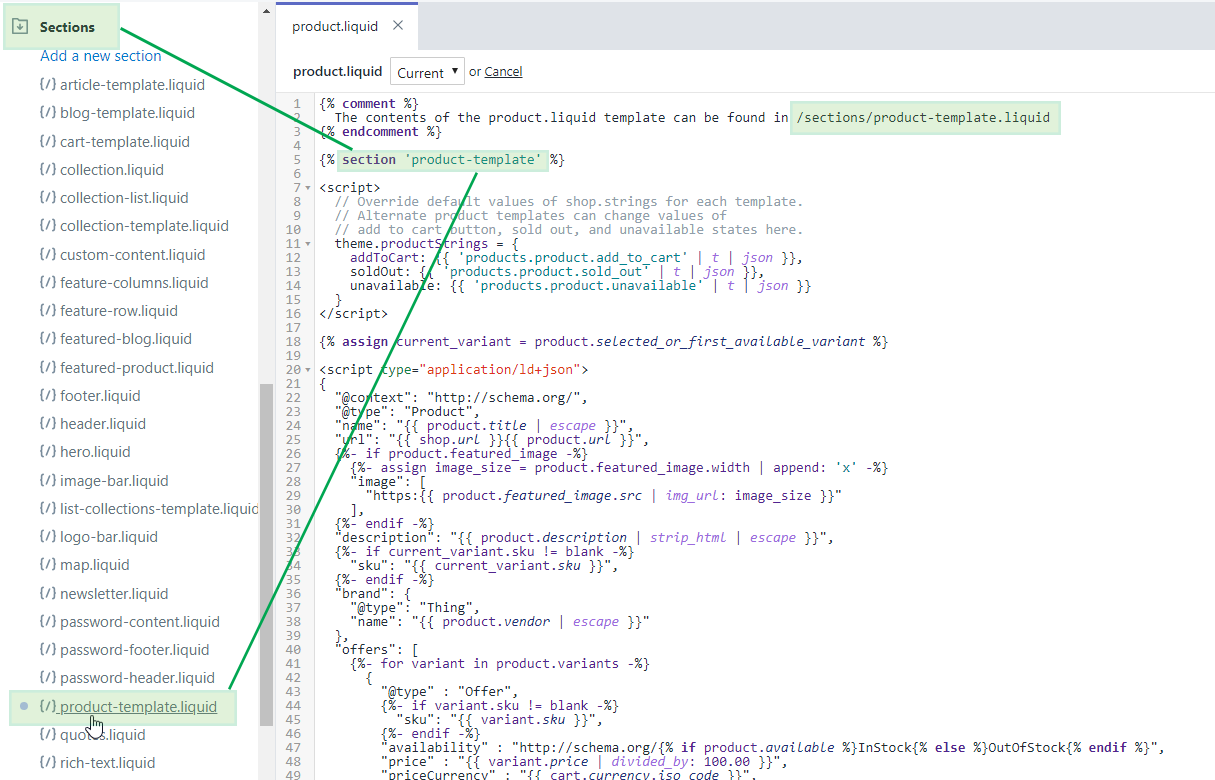
Once inside of the theme code, look for the Product.liquid file on the left hand side underneath "Templates", and open it up.
If you see something that resembles the following code, please follow the instructions below in the Locating Your Product Section Template. If you do not see this code, you may skip this step.

Locating Your Product Section Template:
If your Product.liquid file looked similar to my screenshot above, simply follow the directions denoted in the comment in your theme. My comment is telling me that my product template is located under the Sections folder, in a file called product-template.liquid.
This portion of the tutorial will vary from theme to theme, and will require knowledge of HTML/Liquid to complete.
Modifying Your Product Template:
Once inside of the correct Product Template we will need to locate your image slider. As mentioned this will vary from theme to theme, so there is not an easy way to offer a blanket tutorial for this part. I will be using the Debut theme as an example in the following steps.
In the Debut theme, the image slider can be found by holding the "CTRL" key, and pressing "F", and then searching for "product.image" in the small box that appears at the top right of your theme code file.

This should highlight all instances of this verbiage in yellow. The very first highlighted text should be within a "for" tag. This is what loops through your images to display them on your product page.
Find the closest "div" tag above this for loop, and click on it. It should highlight the whole line in an orange color. Click at the end of the orange highlighted line, and press the "Enter" button on your keyboard, and paste the following code on the new blank line that appears.
  {% if productTags contains 'W3-Product-Customizer' %}
    <div class="product-options-image-customizer" data-product-id="{{ product.id }}"></div>
  {% else %}

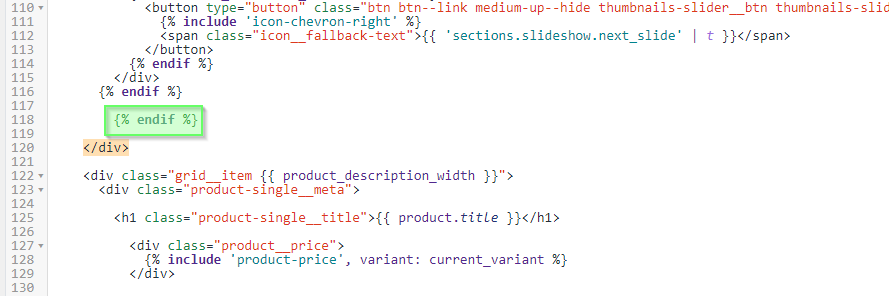
If your orange highlighted div is no longer highlighted, please click the div again to highlight it. Now that the div is highlighted again, scroll down until you you see the highlighted closing div tag that looks like this: </div>. Once located, click at the beginning of this div, and press the "Enter" key on your keyboard. In the space that appears above the closing div, paste the following code:
{% endif %}
At the top of the product template, add the following code:
{% assign productTags = product.tags | join:',' %}

Be sure to save your file once you are done, and you are ready to begin using the Product Customizer app!
Be sure to tag your customizable products in Shopify with the W3-Product-Customizer tag or it will not show up! Shopify Tags are case sensitive, so make sure you add the tag EXACTLY as it appears above!
Here is a brief Shopify tutorial on how tag your products:
https://help.shopify.com/en/manual/products/add-update-products#add-or-remove-tags
Be sure to remove the tag if you ever remove the Customizer from that product.
If you have any questions/concerns, please feel free to reach out to us at Support@w3trends.com.