
Overview:
In this tutorial you will learn the basics of getting started with image customizer and setting up a product with images. If you haven't already set up the product in with options, you will need to do so before proceeding with this tutorial. Also, before continuing with setup the images for the customizer will need to have been created. Photoshop Option Creation
- Basic Details
- Layer Creation and Management
- Image Upload and Management
If you have any issues getting the image customizer setup please feel free to reach out to us at support@w3trends.com
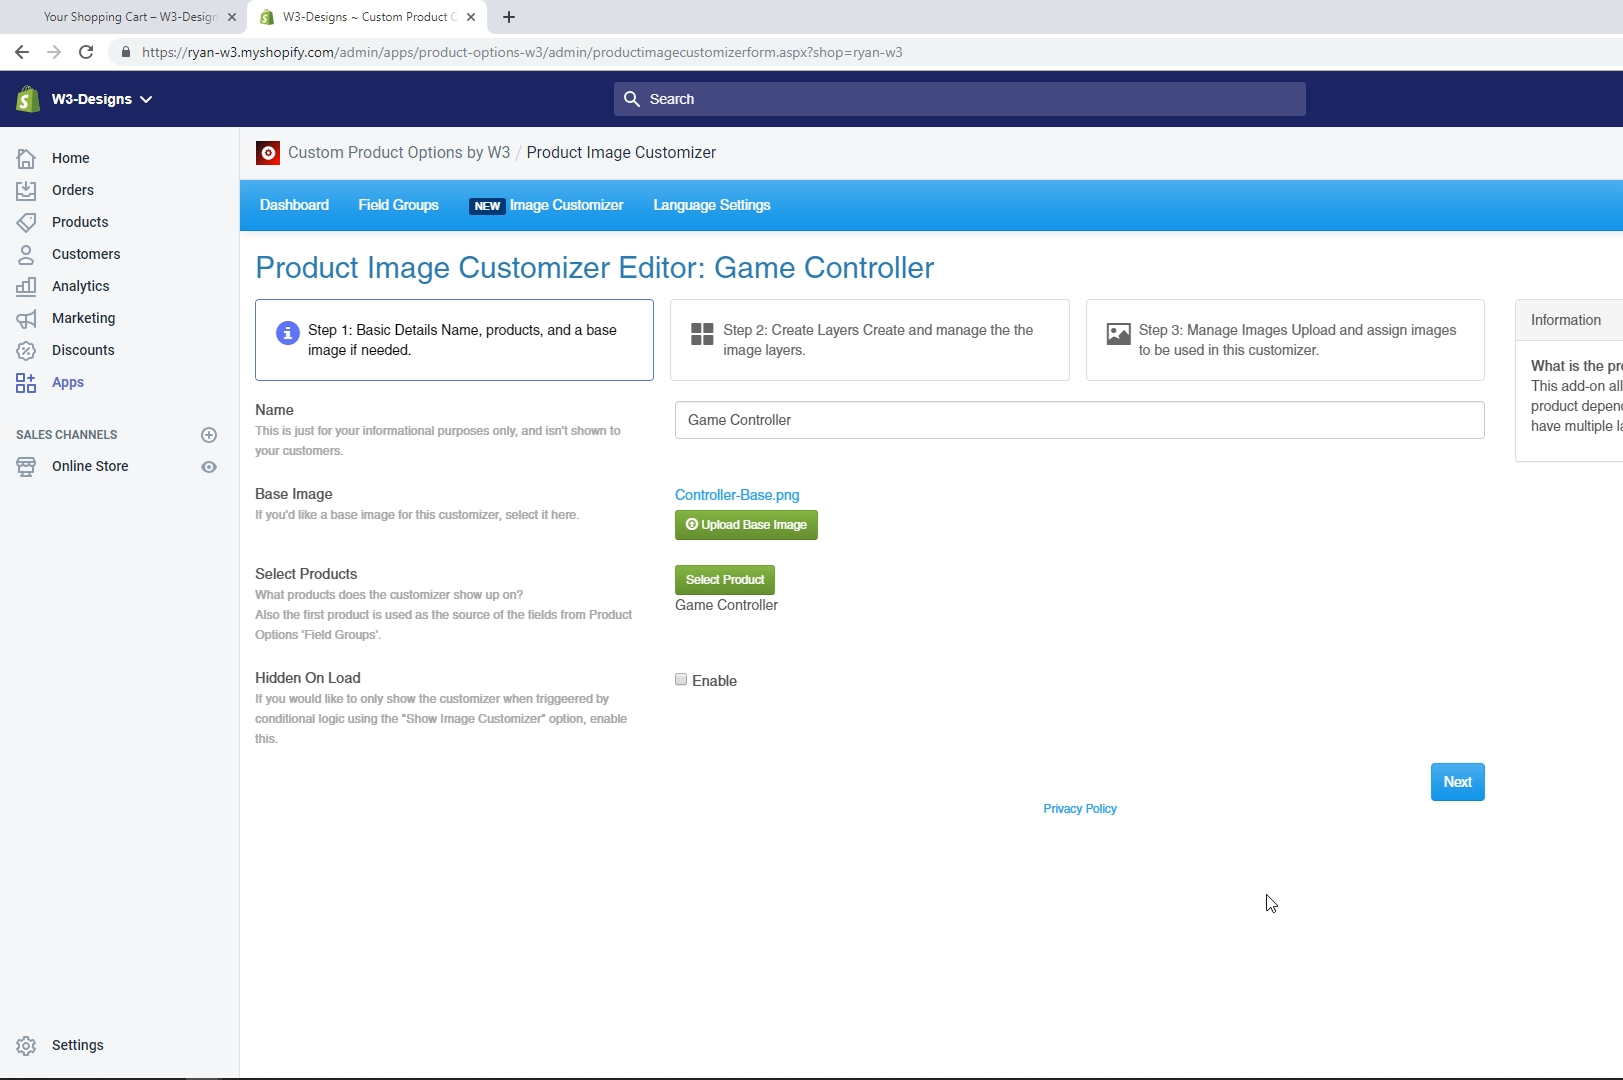
Step 1: Basic Details
This step is all about setting up an image customizer. To display on the product page. These options are the base level and need to be made first before
- Name
- Base Image
- Select Products
- Hidden on Load
Name
The name is just for informational purposes only and isn't visible to your customers. However, if you are using multiple images customizers on several products, we recommend using naming conventions to differentiate between the various customizers.
Base Image
Using the dialog box, select a base image for your image customizer product. This image serves as the bottom layer that images are layered on top of to create the product display.
A base image does not need to be selected if you do not want. If no base image is selected, then the image section on the product page will load as an empty space until an option is picked by the user. This can create the illusion that the product is being virtually built on the screen and is a styling decision you can decide to incorporate on your image customizer. Options can also be used to change the background image or other various styling changes.
Select Products
Use the dialog box to sync and select products that image customizer will load on. Also, if selecting more then one product, the first product is used as the source of the fields from Product Options 'Field Groups'.
Hidden on Load
If you would like to only show the customizer when triggered by conditional logic using the "Show Image Customizer" option, enable this.
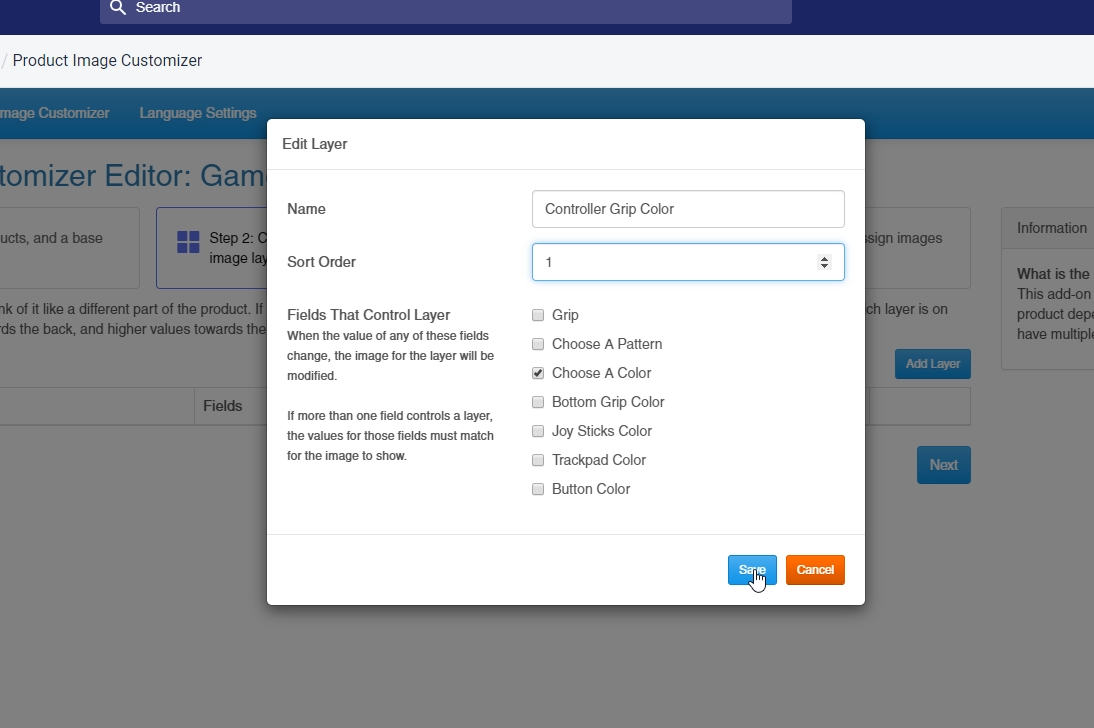
Step 2: Layer Creation and Management
A single layer is one image that will show on the image customizer. Think of layers as a different part of the product. If only one field changes the customizer image, then only one layer will be required to control that change.
The sort order field controls which layer is on the bottom. Lower sort order values show towards the back and higher values towards the front.
Selecting a field for the control layer will set which field group option will create a change on the images. For example, the 'Choose A Color' option will be set on the layer called 'Controller Grip Color'. This layer will then have images assigned in the next step associated with the colors from this drop-down menu.
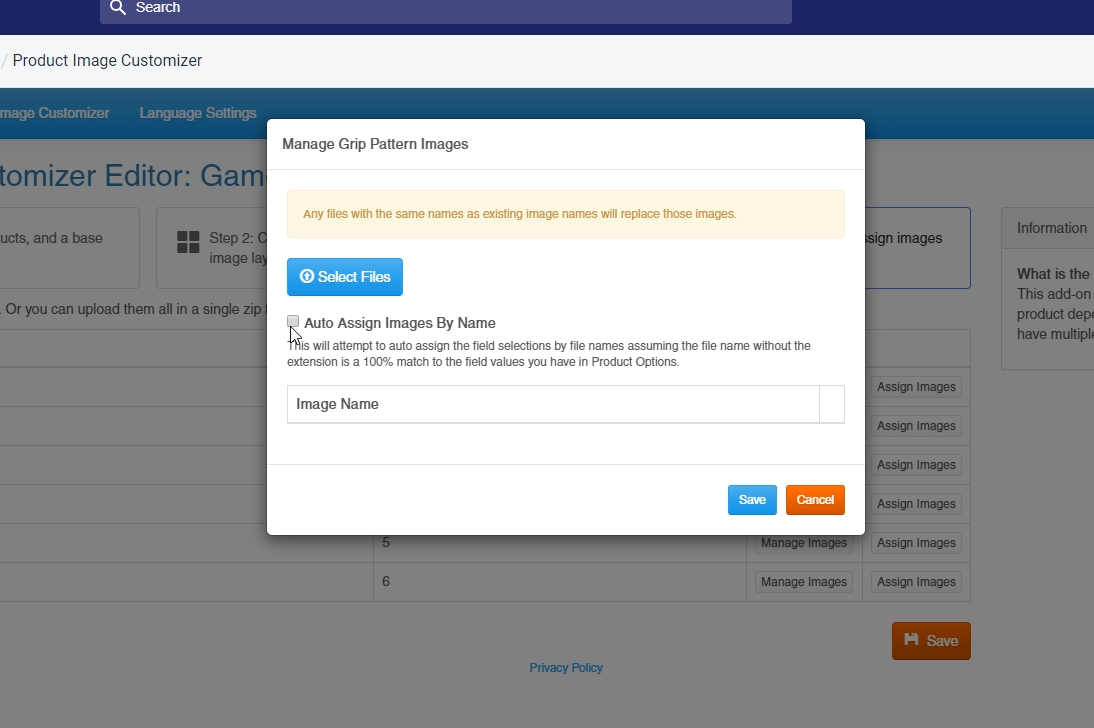
Step 3: Image Upload and Management
Images are uploaded on a per layer basis. Or you can upload them all in a single zip file. Images with the same name as images already in the Image Customizer will overwrite and replace those images.
Manage Images
This tab is where you will upload the images from the file located on your desktop to the Image Customizer.
Auto Assign Images by Name
This will attempt to auto assign the field selections by file names assuming the file name without the extension is a 100% match to the field values you have in Product Options. This can if it is necessary to
Assign Images
When assigning the images to options use the drop-downs to match the images to the options. If your file names match the
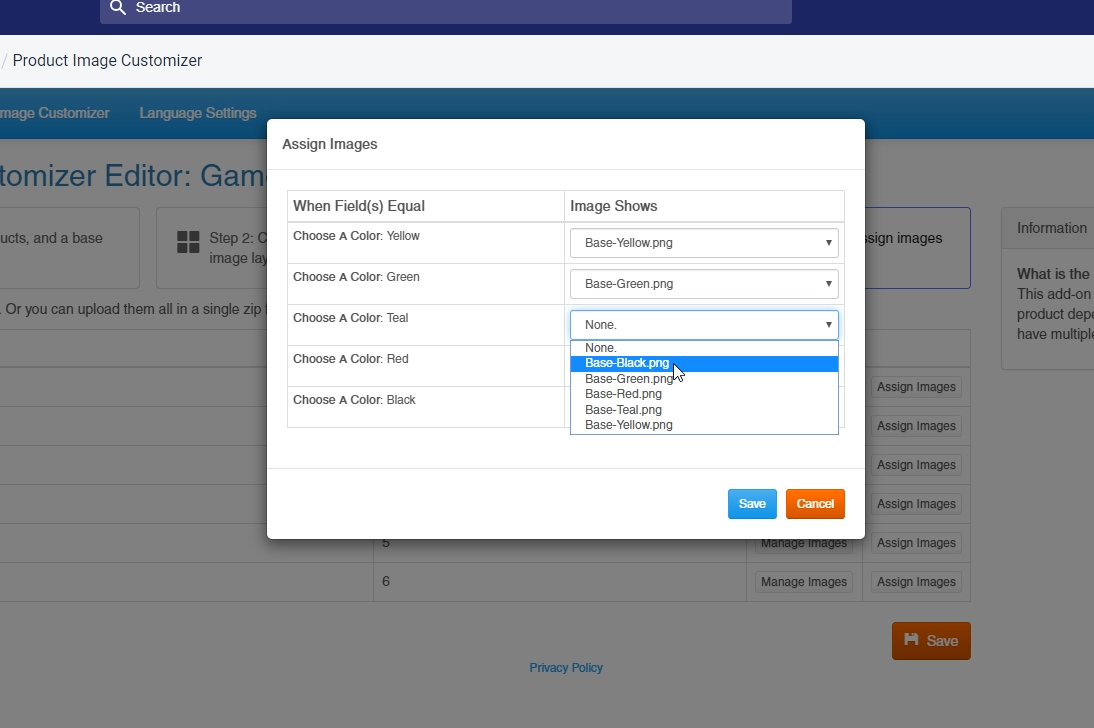
Click the orange 'Save' Button at the bottom of the table to save the Image customizer. You changes will now be live on the front end of your store.
Front-end:
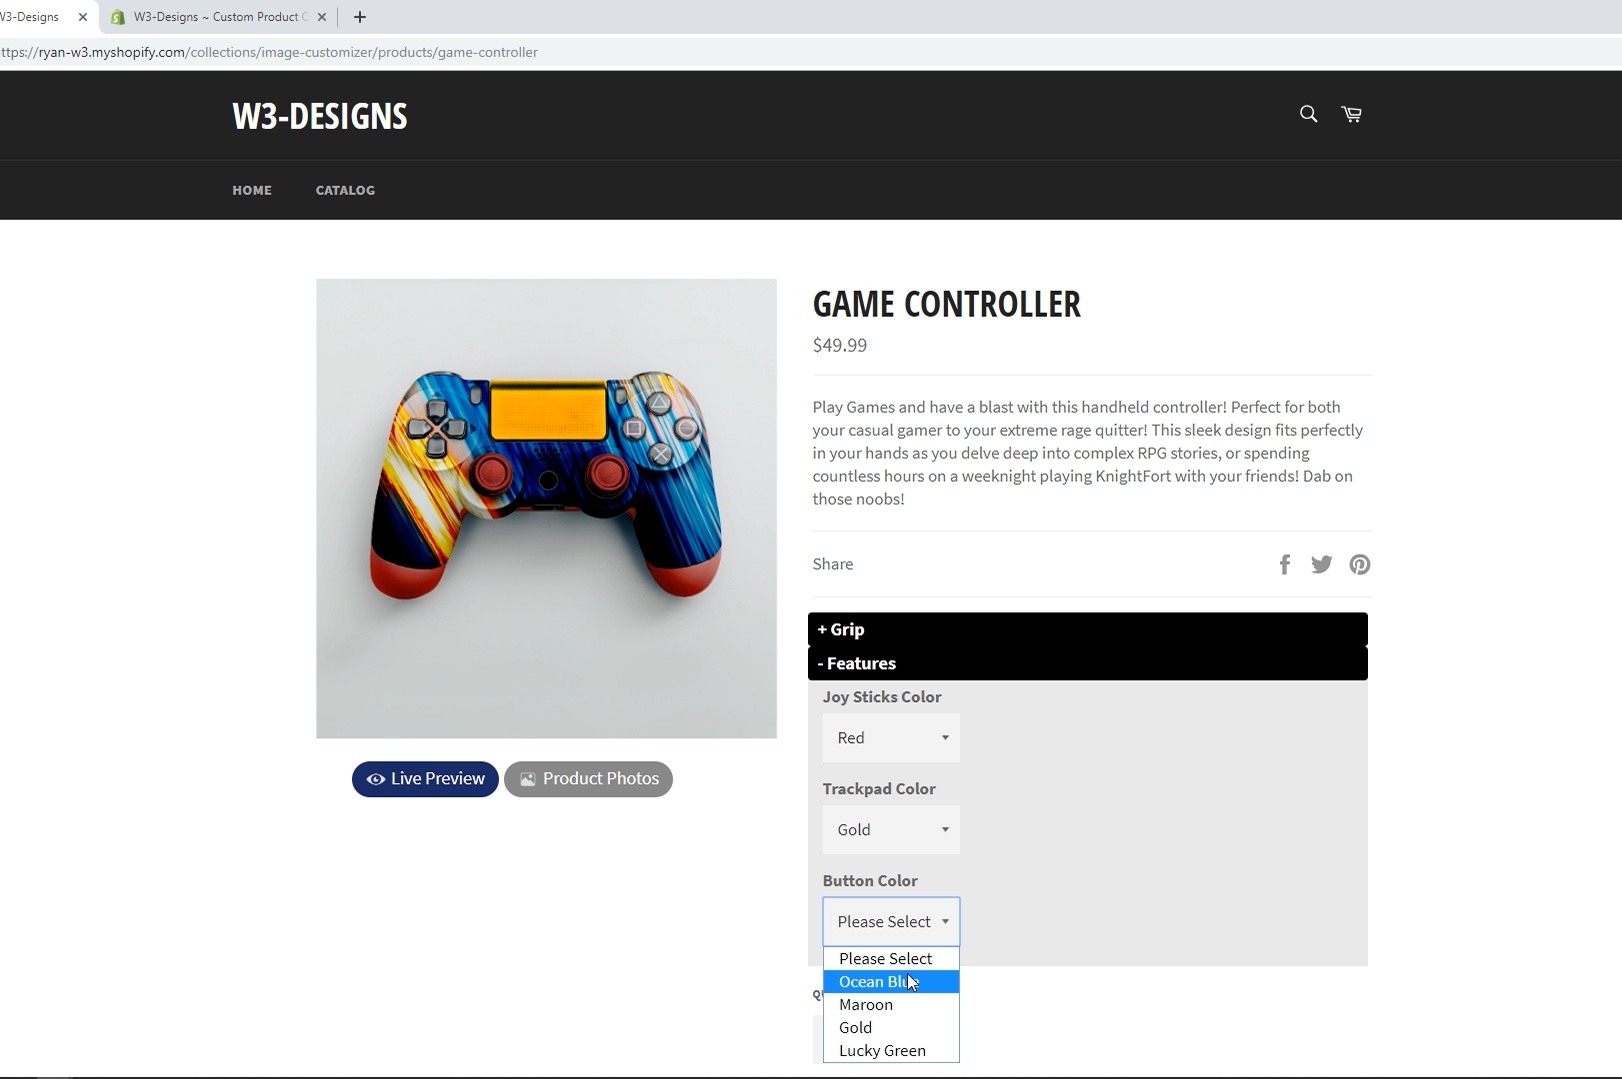
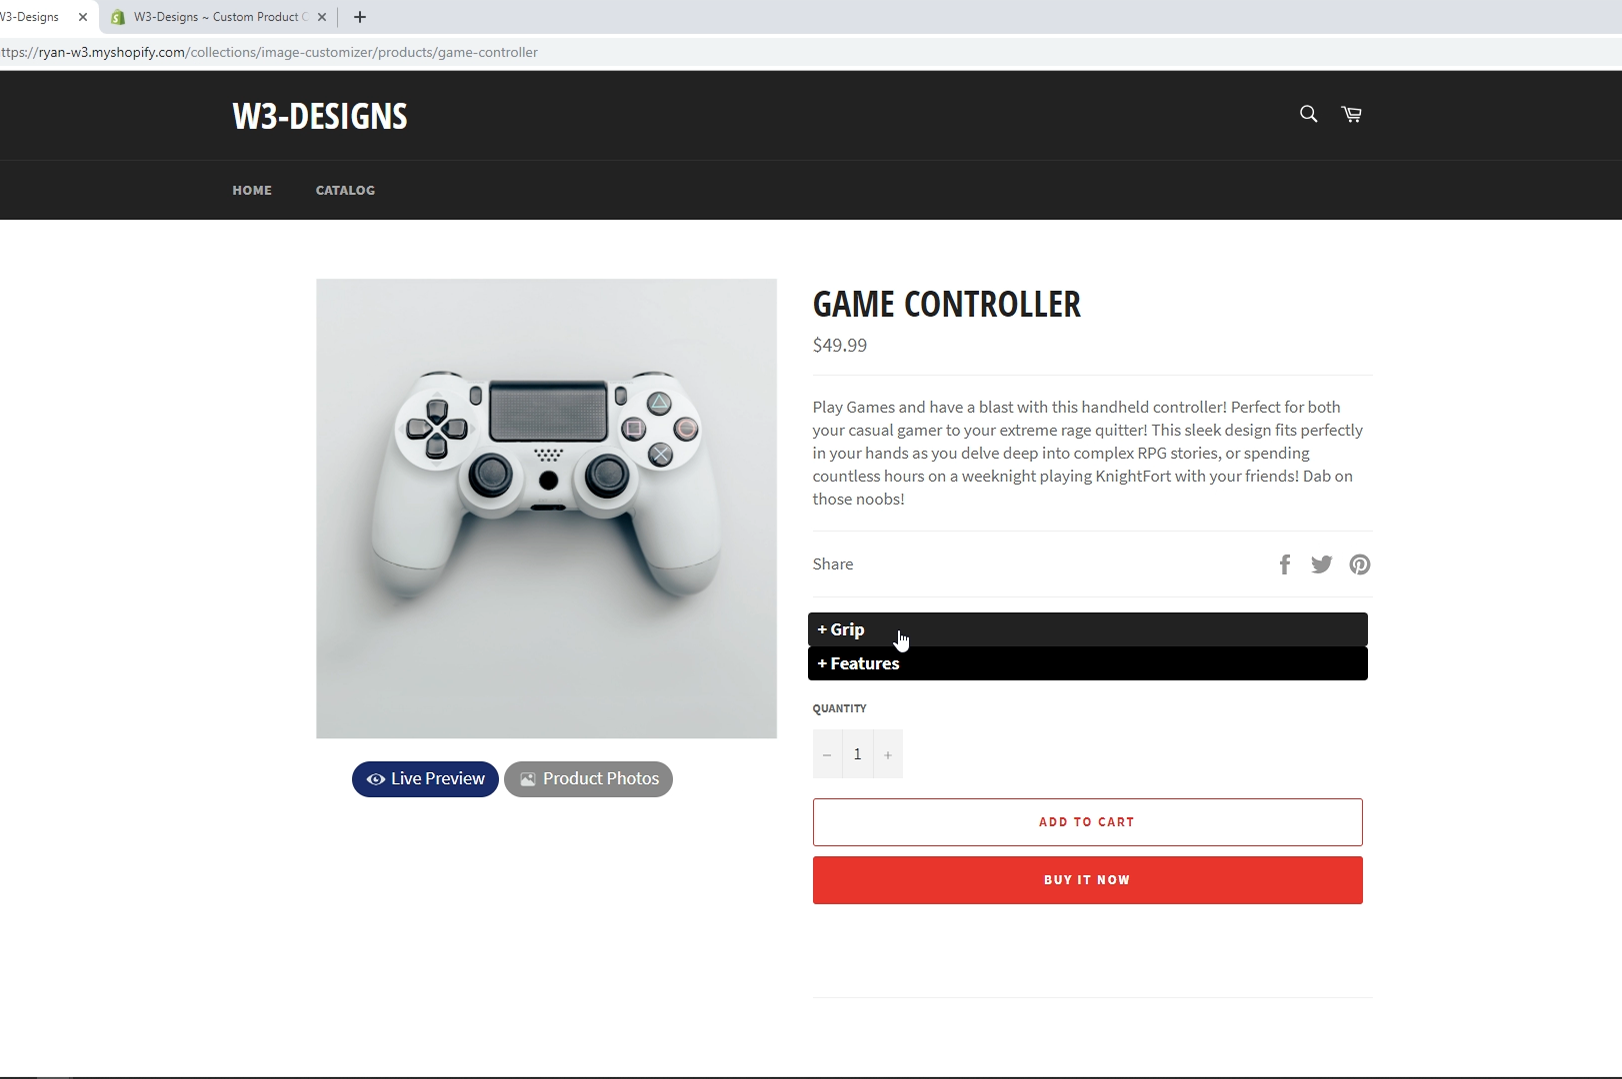
If you still have questions, please feel free to reach out to us here at support@w3trends.com