
Overview - What to expect
This tutorial is intended for experienced Photoshop users and will cover how to change the color of an option. When creating graphics in Photoshop be wary of best practices and make nondestructive edits to be sure future changes can be made.
Use this adobe reference if you are unfamiliar with any of the Photoshop functions described in this tutorial. https://helpx.adobe.com/photoshop/tutorials.html
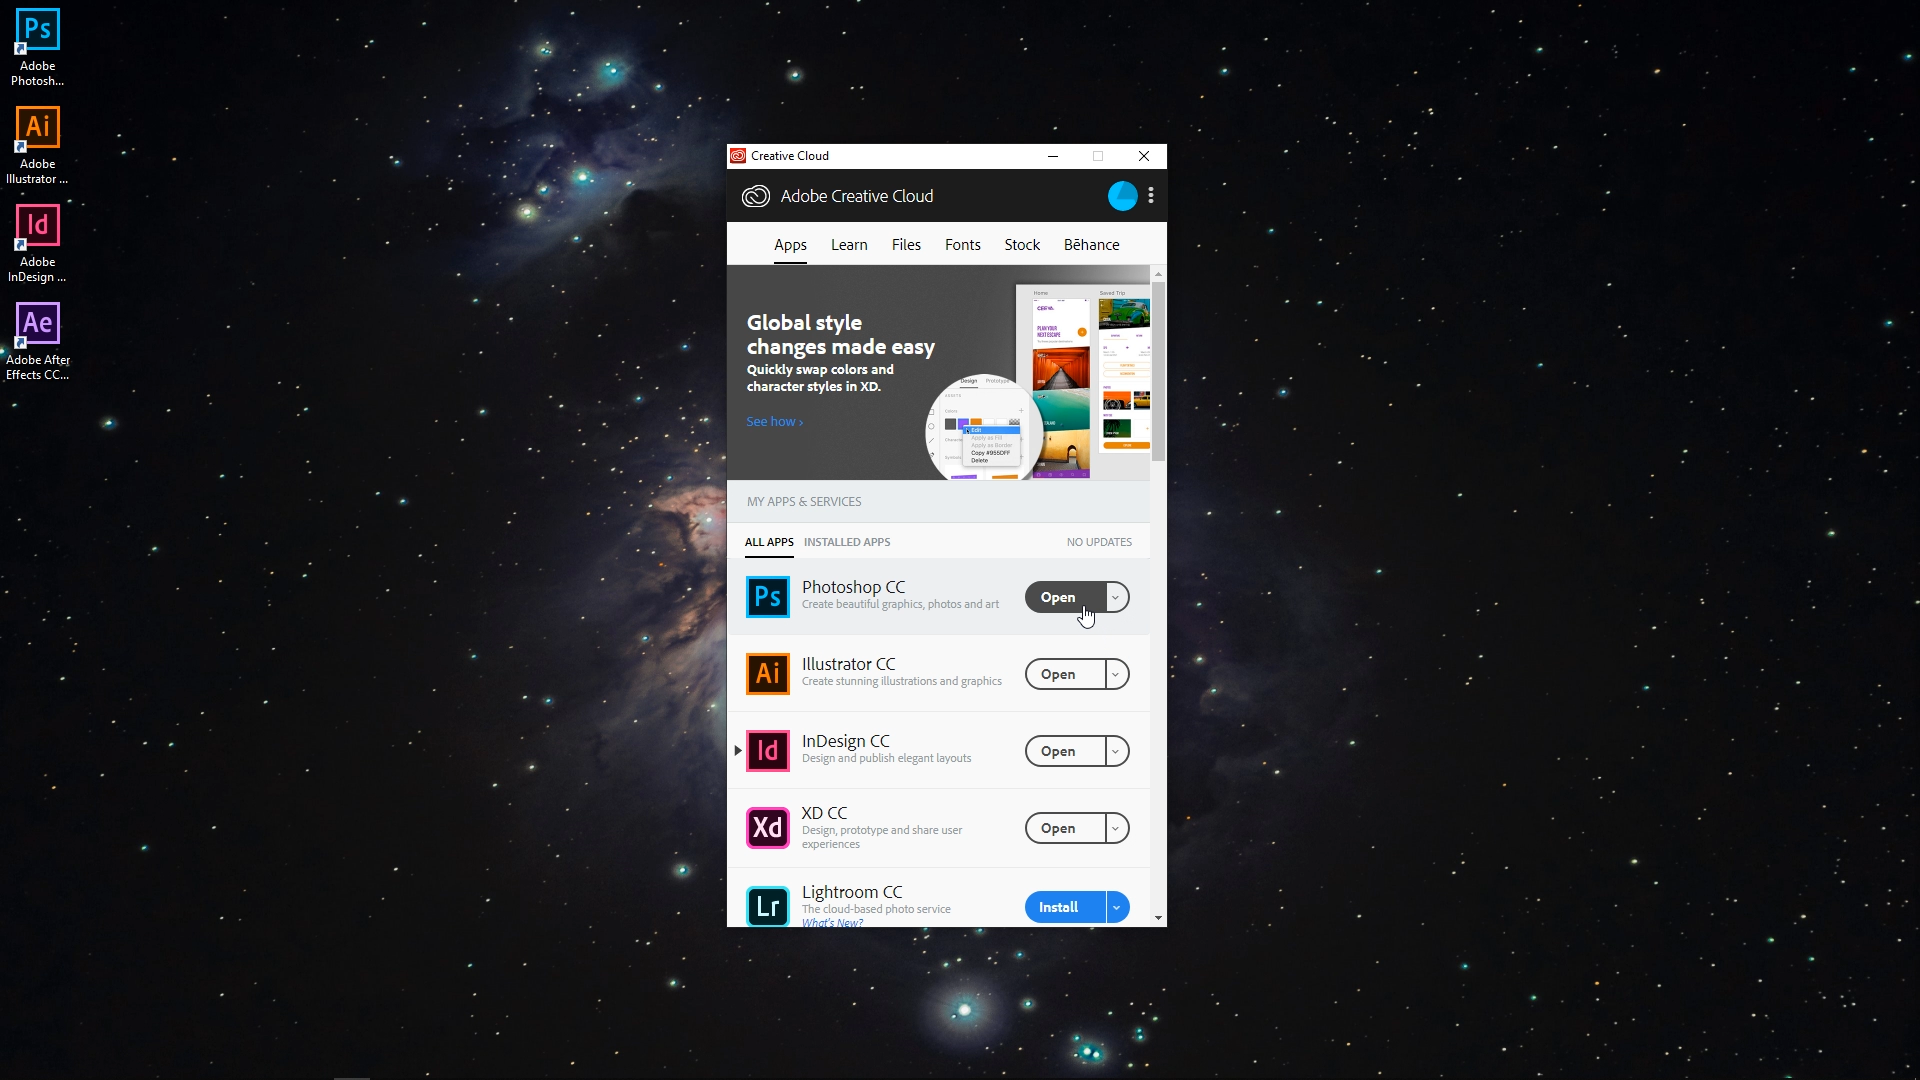
1. Open Photoshop
Click either the desktop icon or open through the Creative Cloud app.
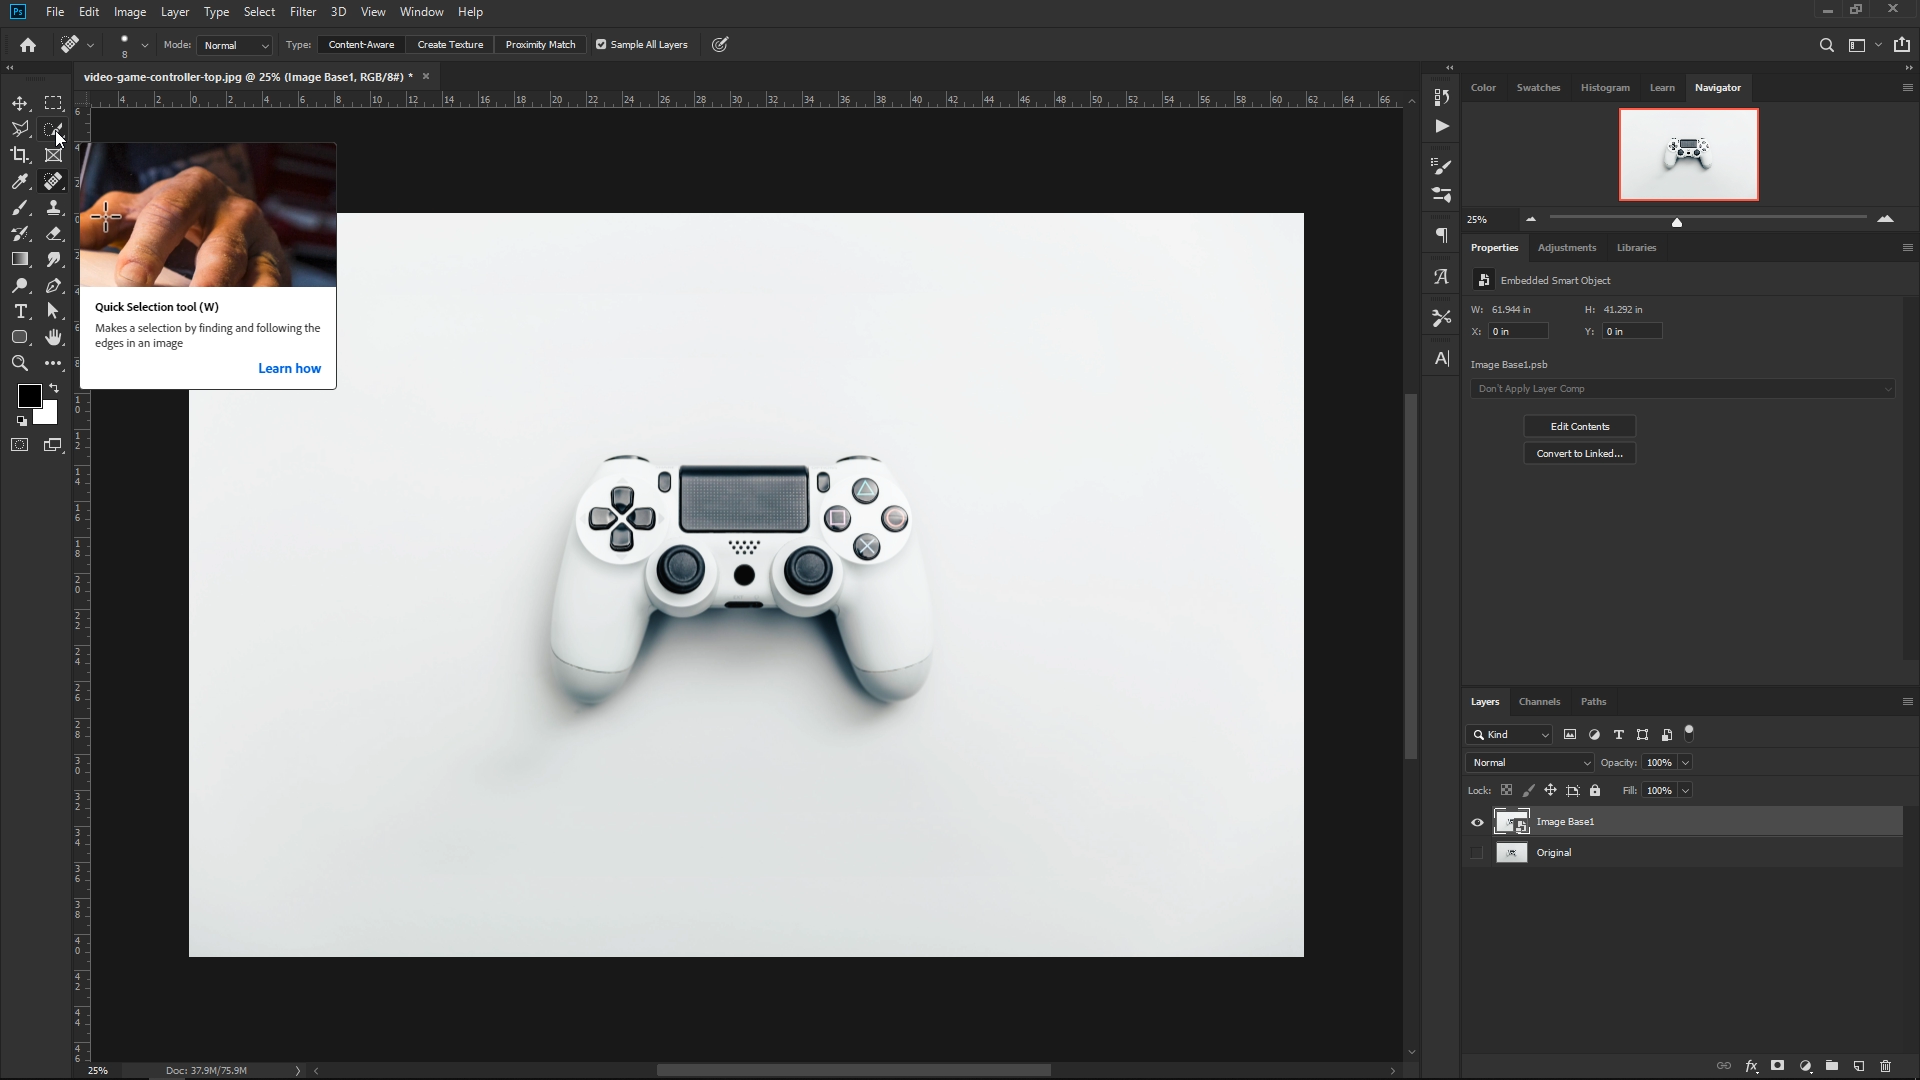
2. Open Image
File => Open Be sure to save your images and Photoshop assets all in one place for easy.

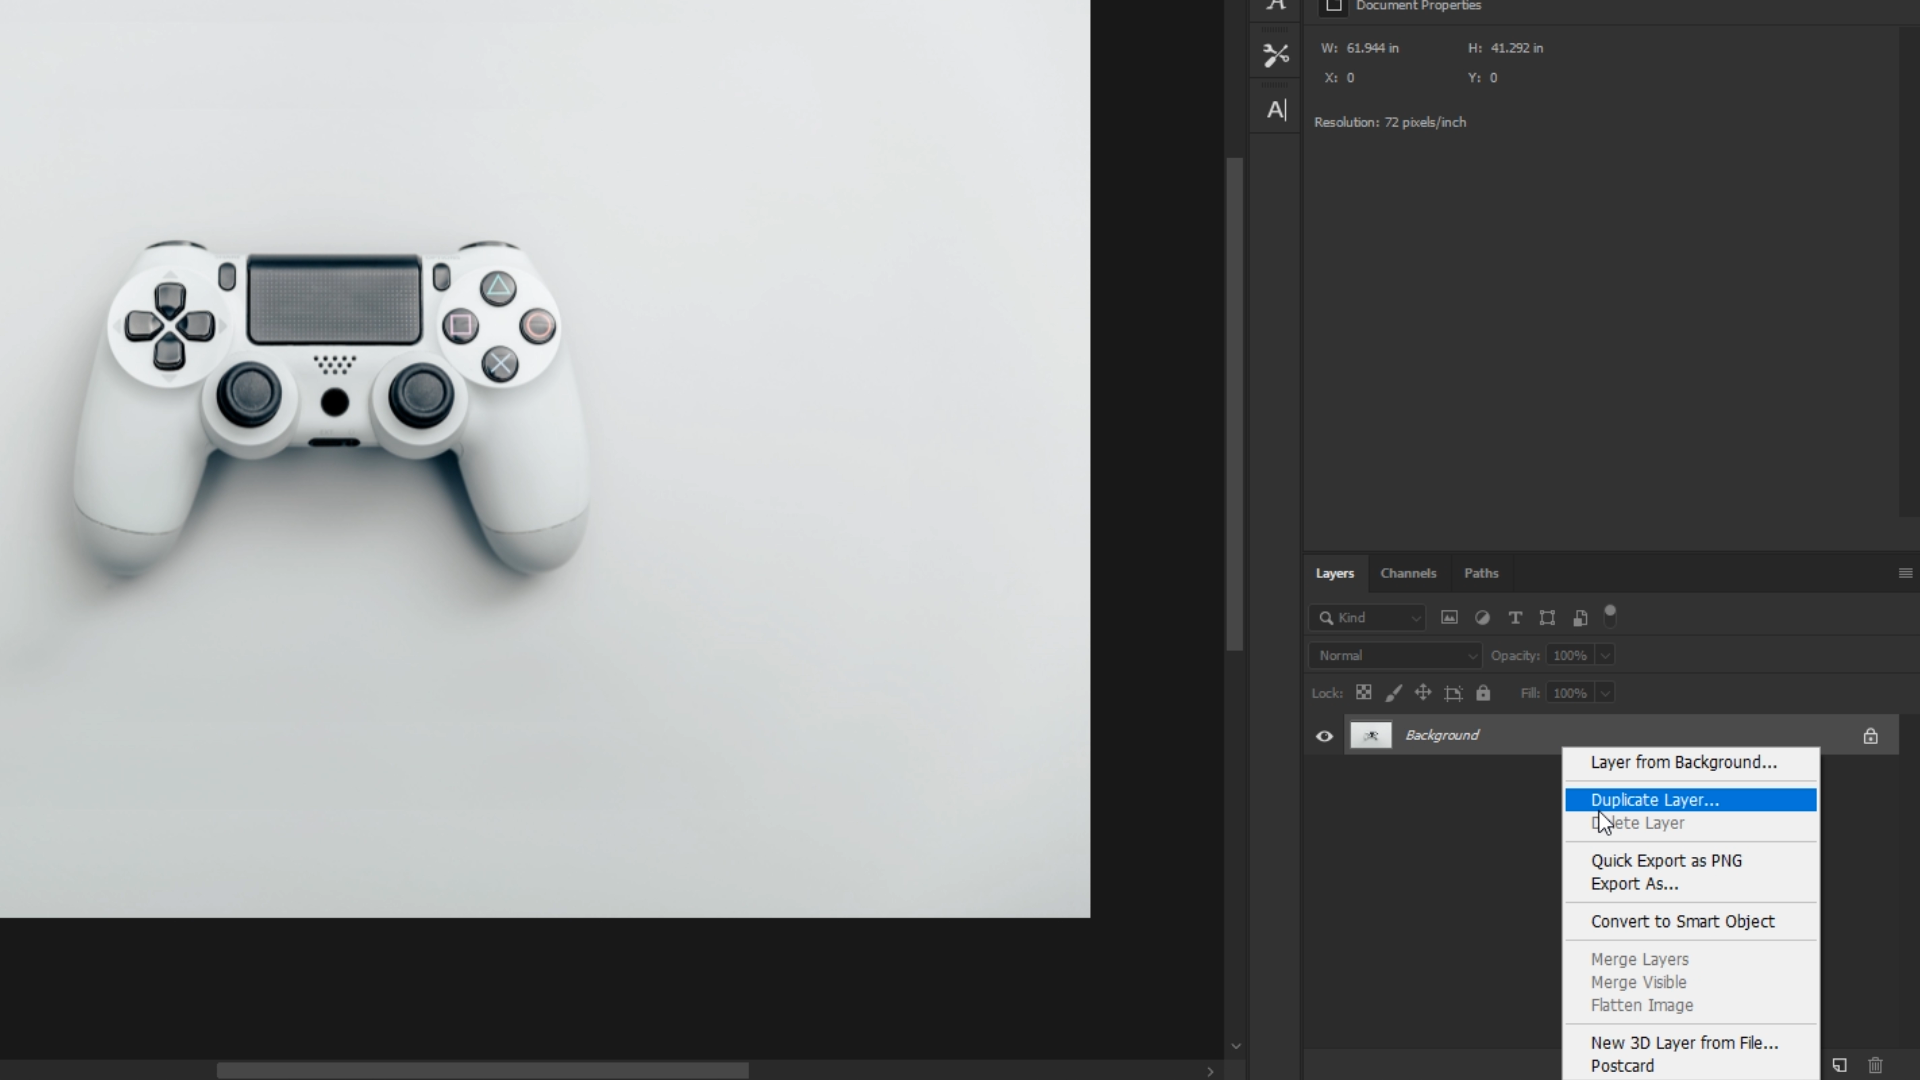
3. Duplicate Image to a New Layer
Right Click Layer or press CMD J Mac or CTRL J on PC
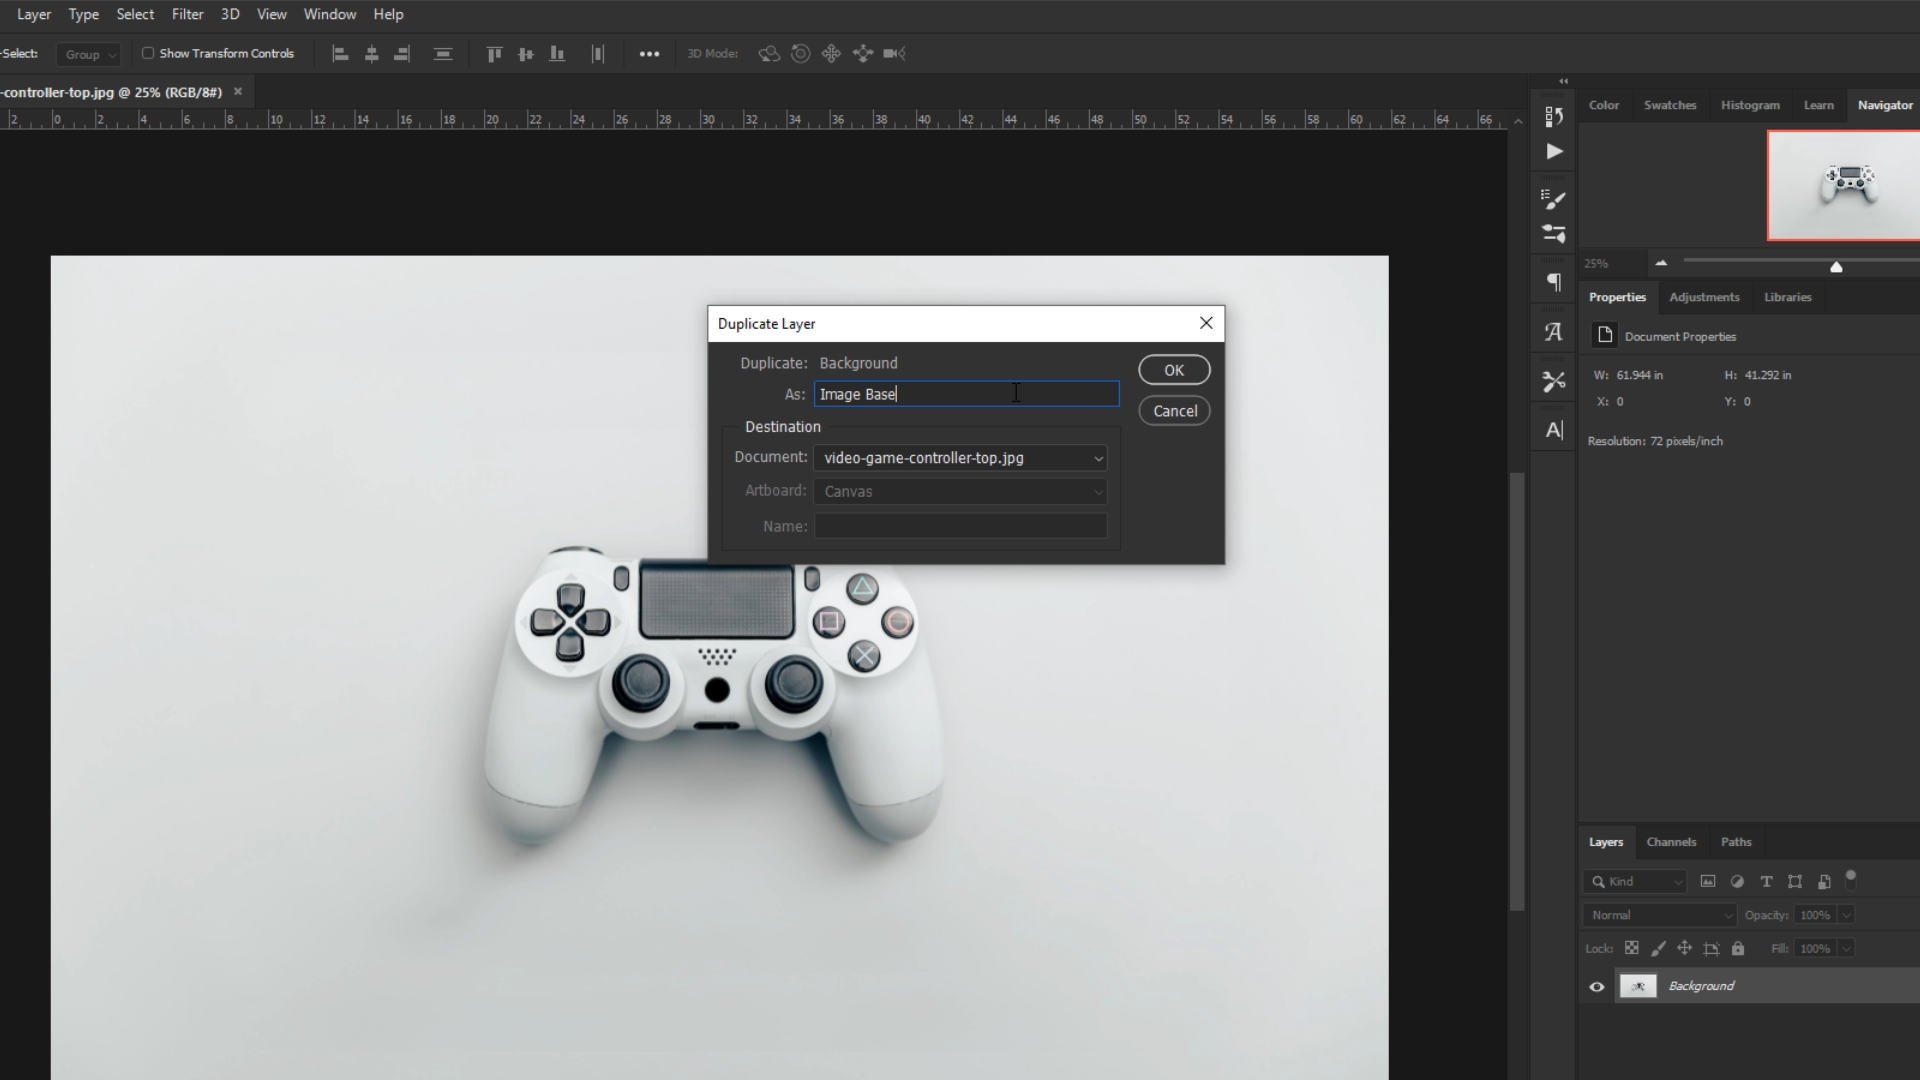
4. Rename Background Layer to Image Base
Click Ok when finished.
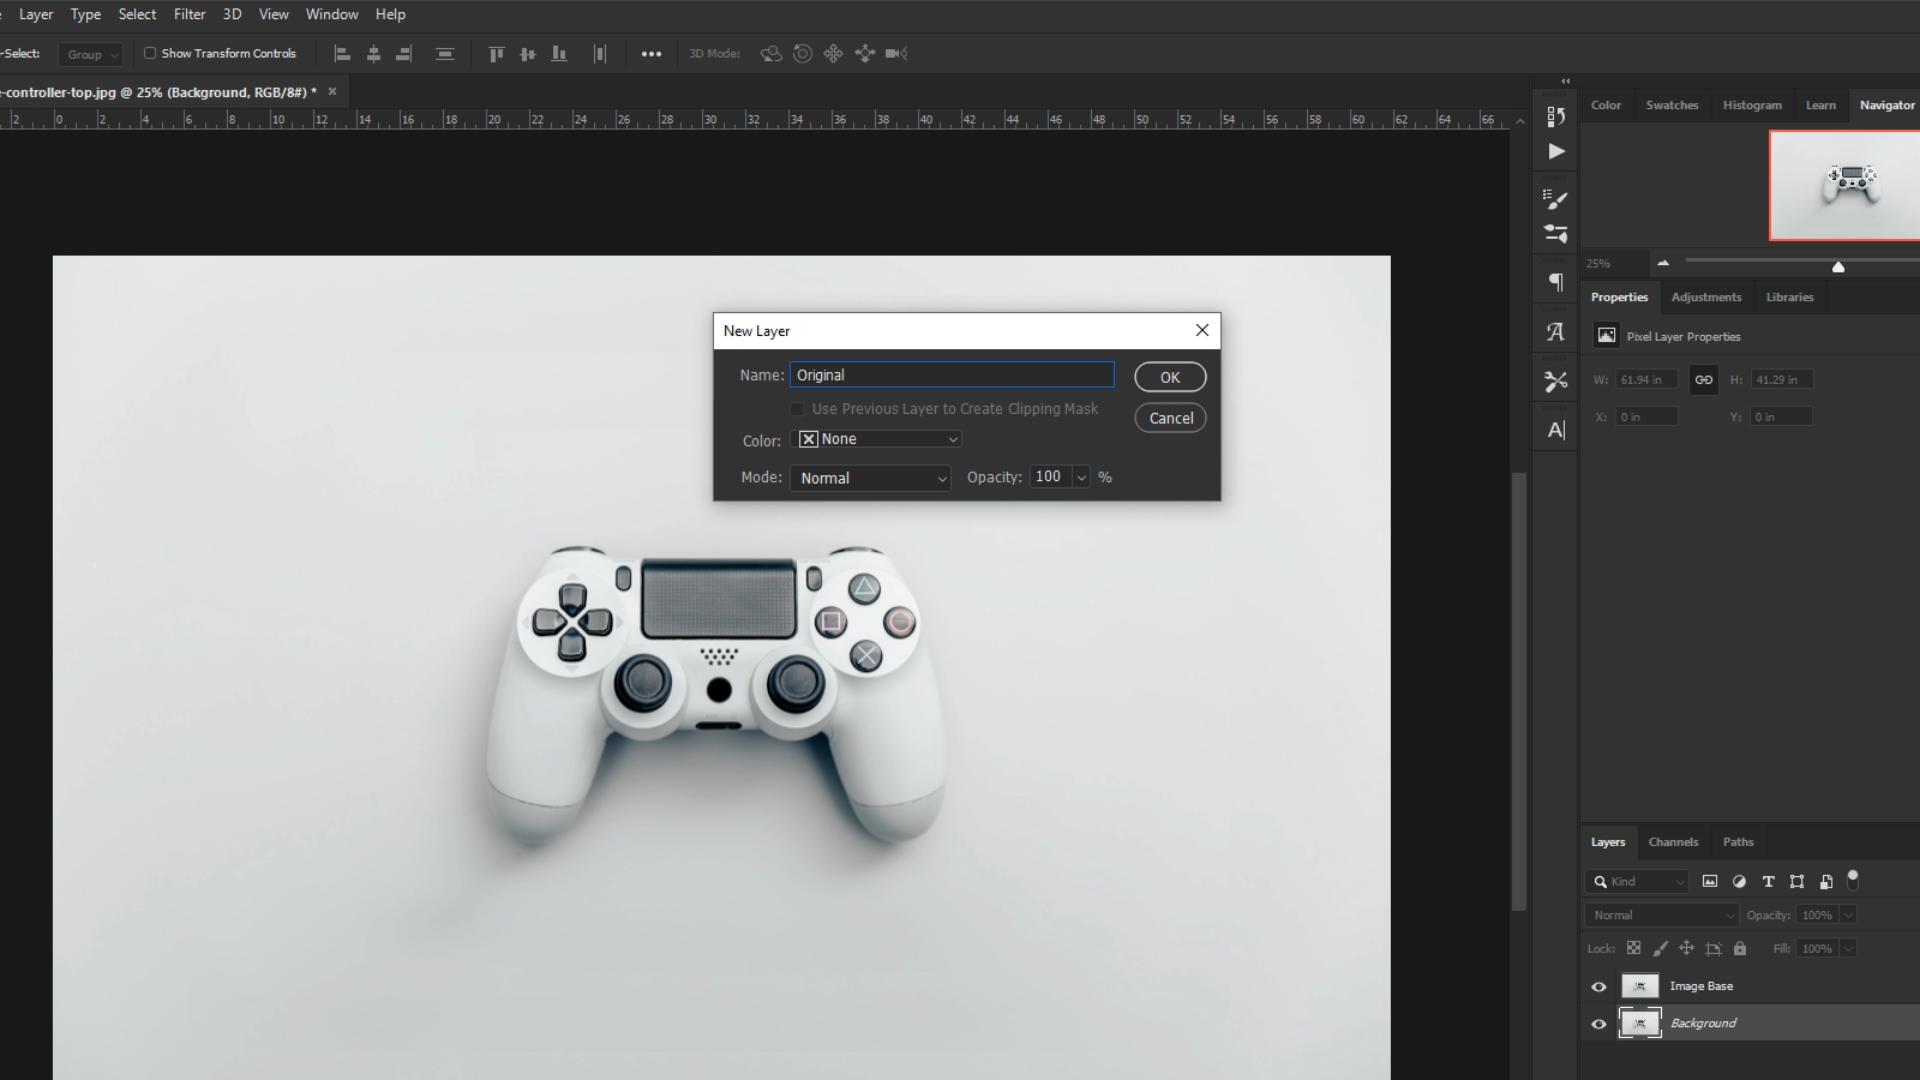
5. Rename Background Layer to Original
Click Ok when finished.
6. Convert layer to a Smart Object
Right Click Layer and select Smart Object.
7. Open Smart Object
Double click on the layer to open the smart object.
8. Make the base level Photoshop Changes here (Optional)
- Add Shadows and Highlights
- Remove image noise and camera abbreviations
- Remove blemishes
- Base adjustments to Brightness, Saturation, Vibrancy, and ETC
9. Save and Close the Smart Object
Save and close the smart Object when done making these changes to return to the main document. You can always reopen the smart object to make any additional changes.
10. Select Layer
Select the "Image Base" Layer in the layers Panel.
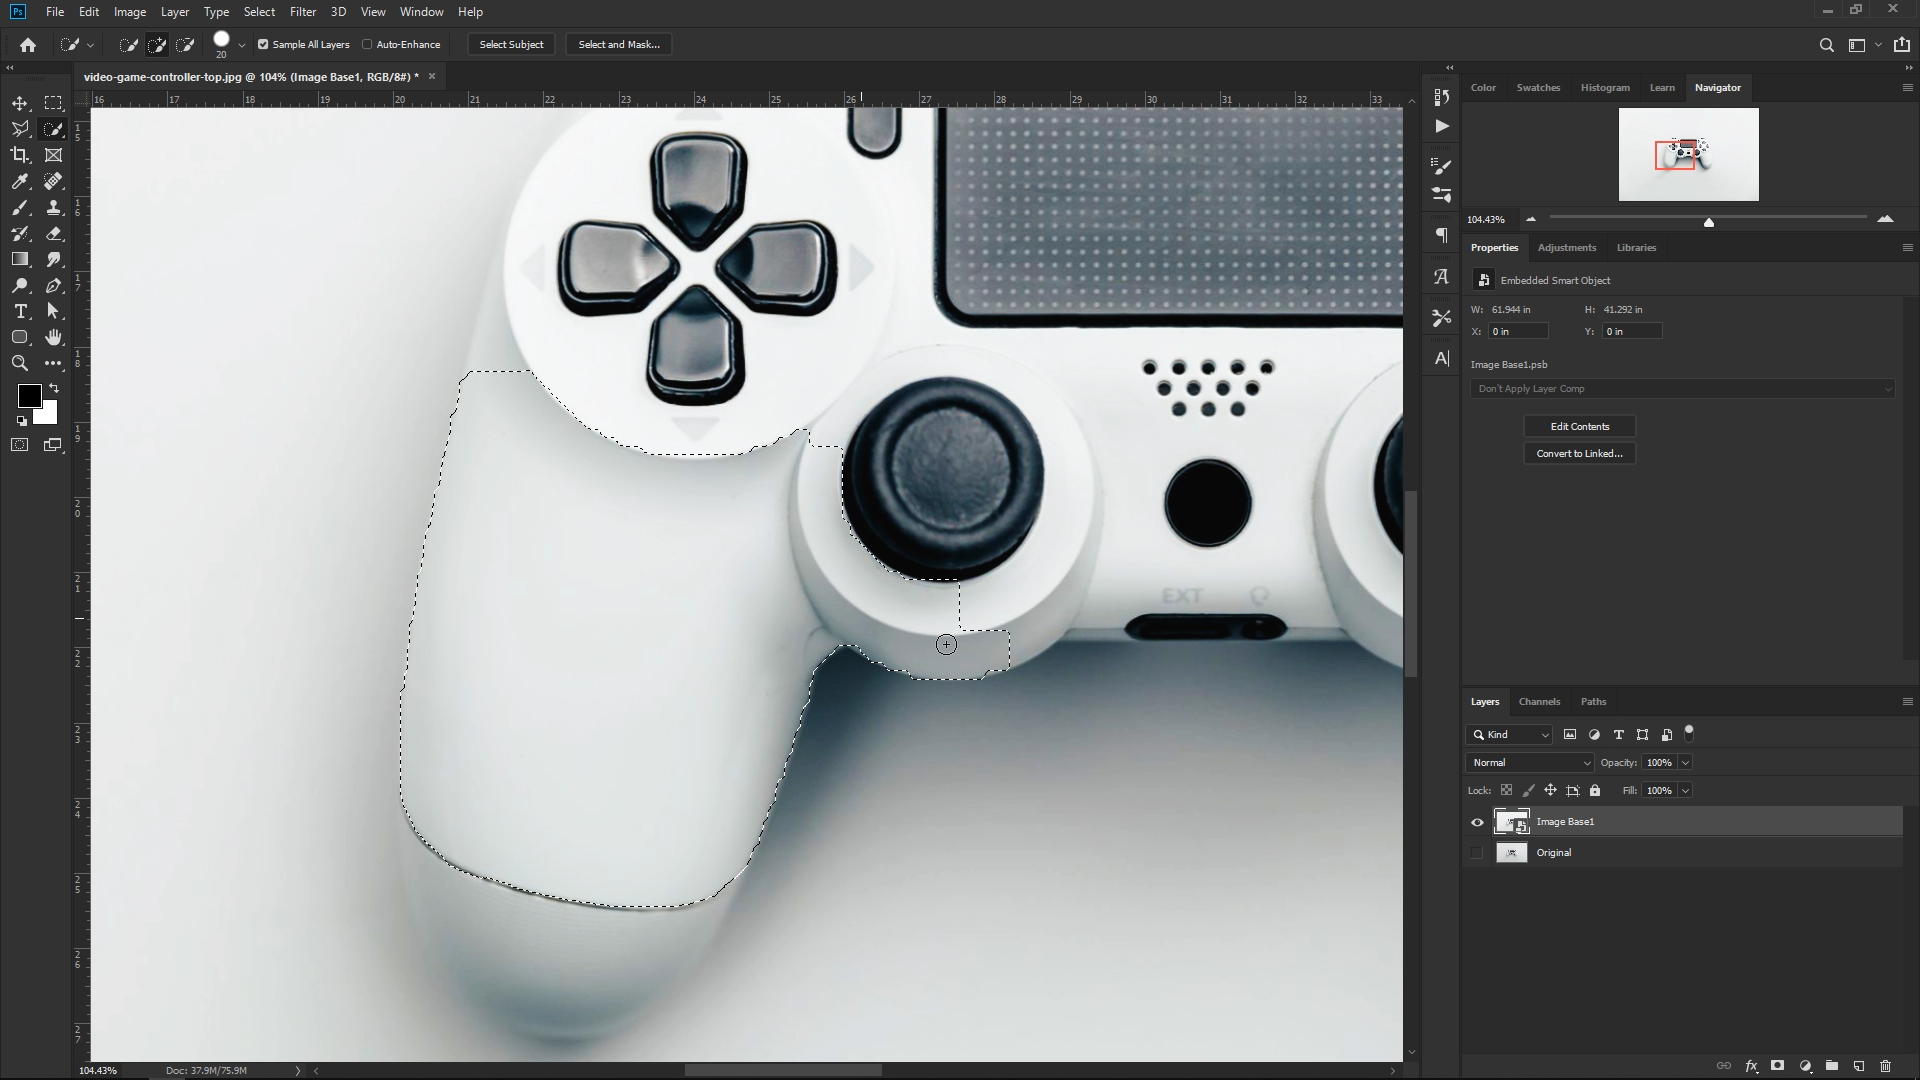
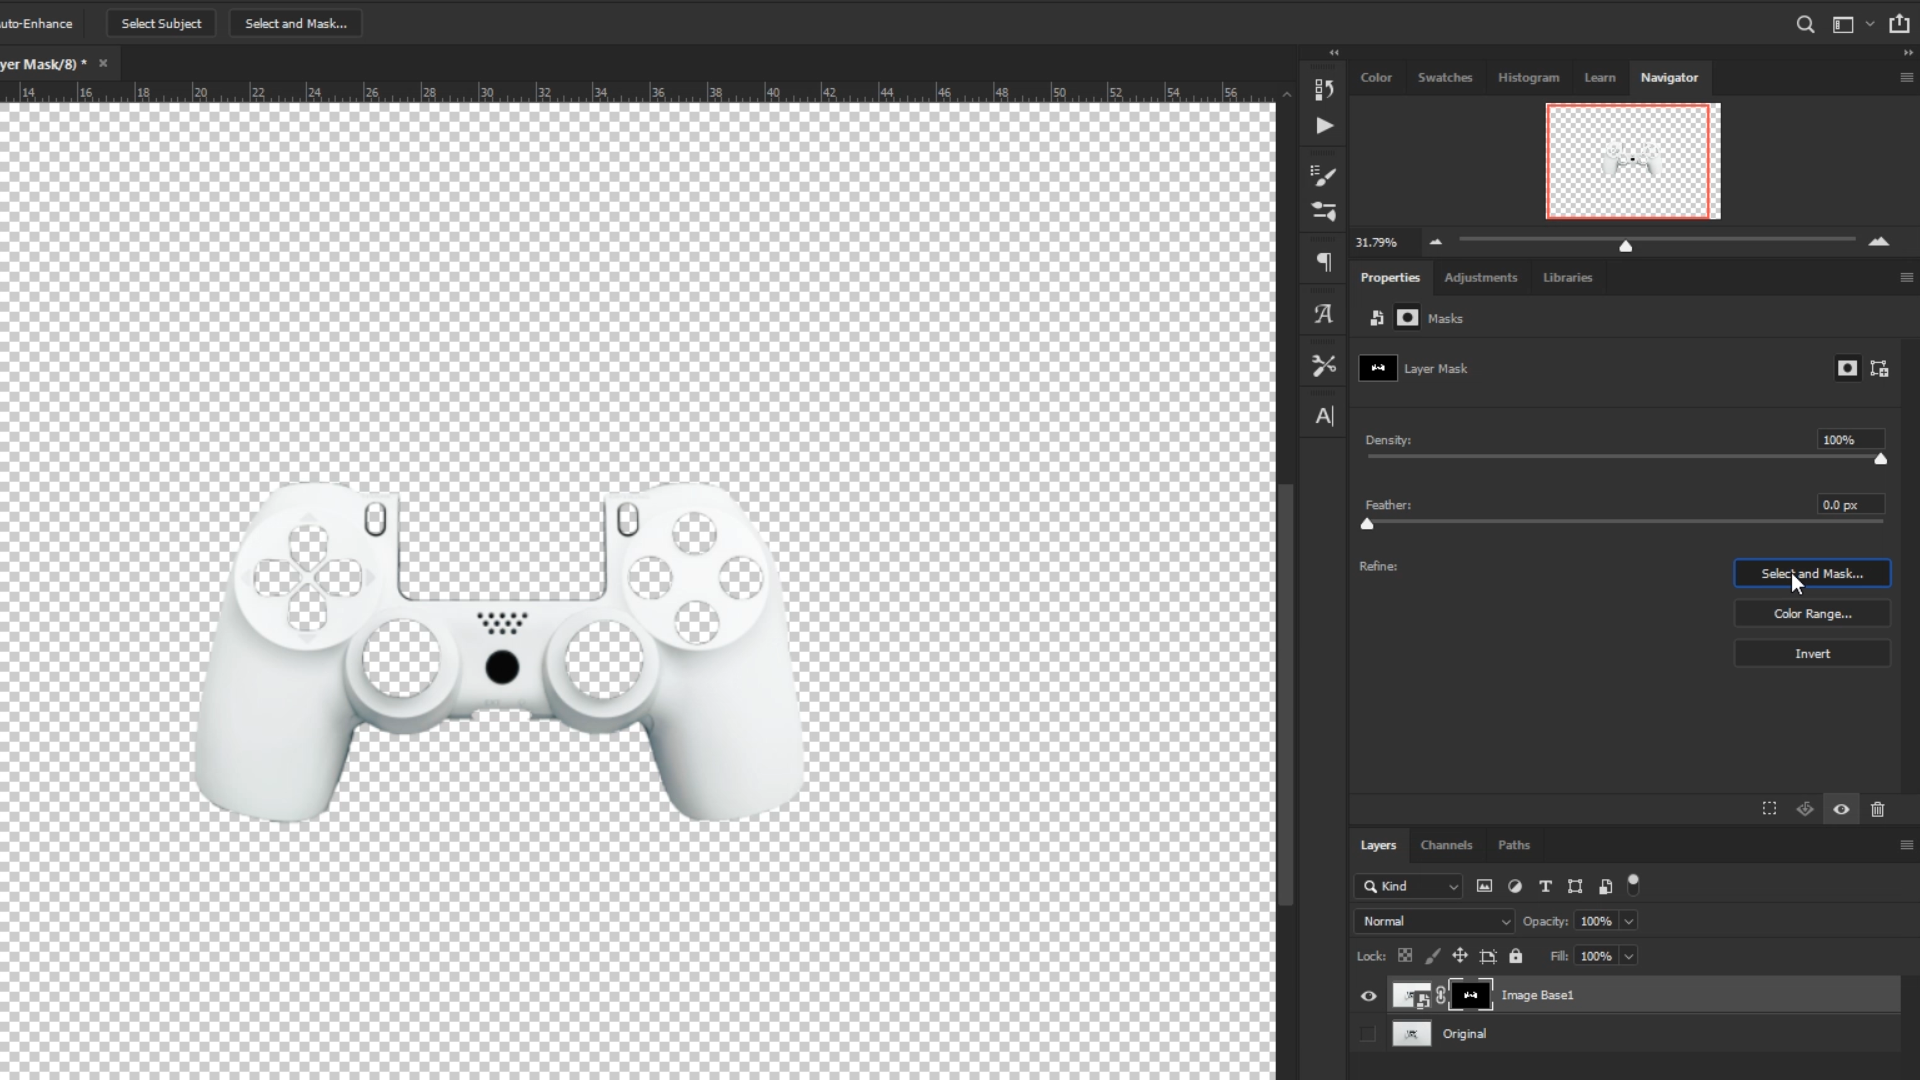
11. Create a Selection
Use a Quick Selection, Laso Tool, or Magnetic tool to select the area that will consist of change.
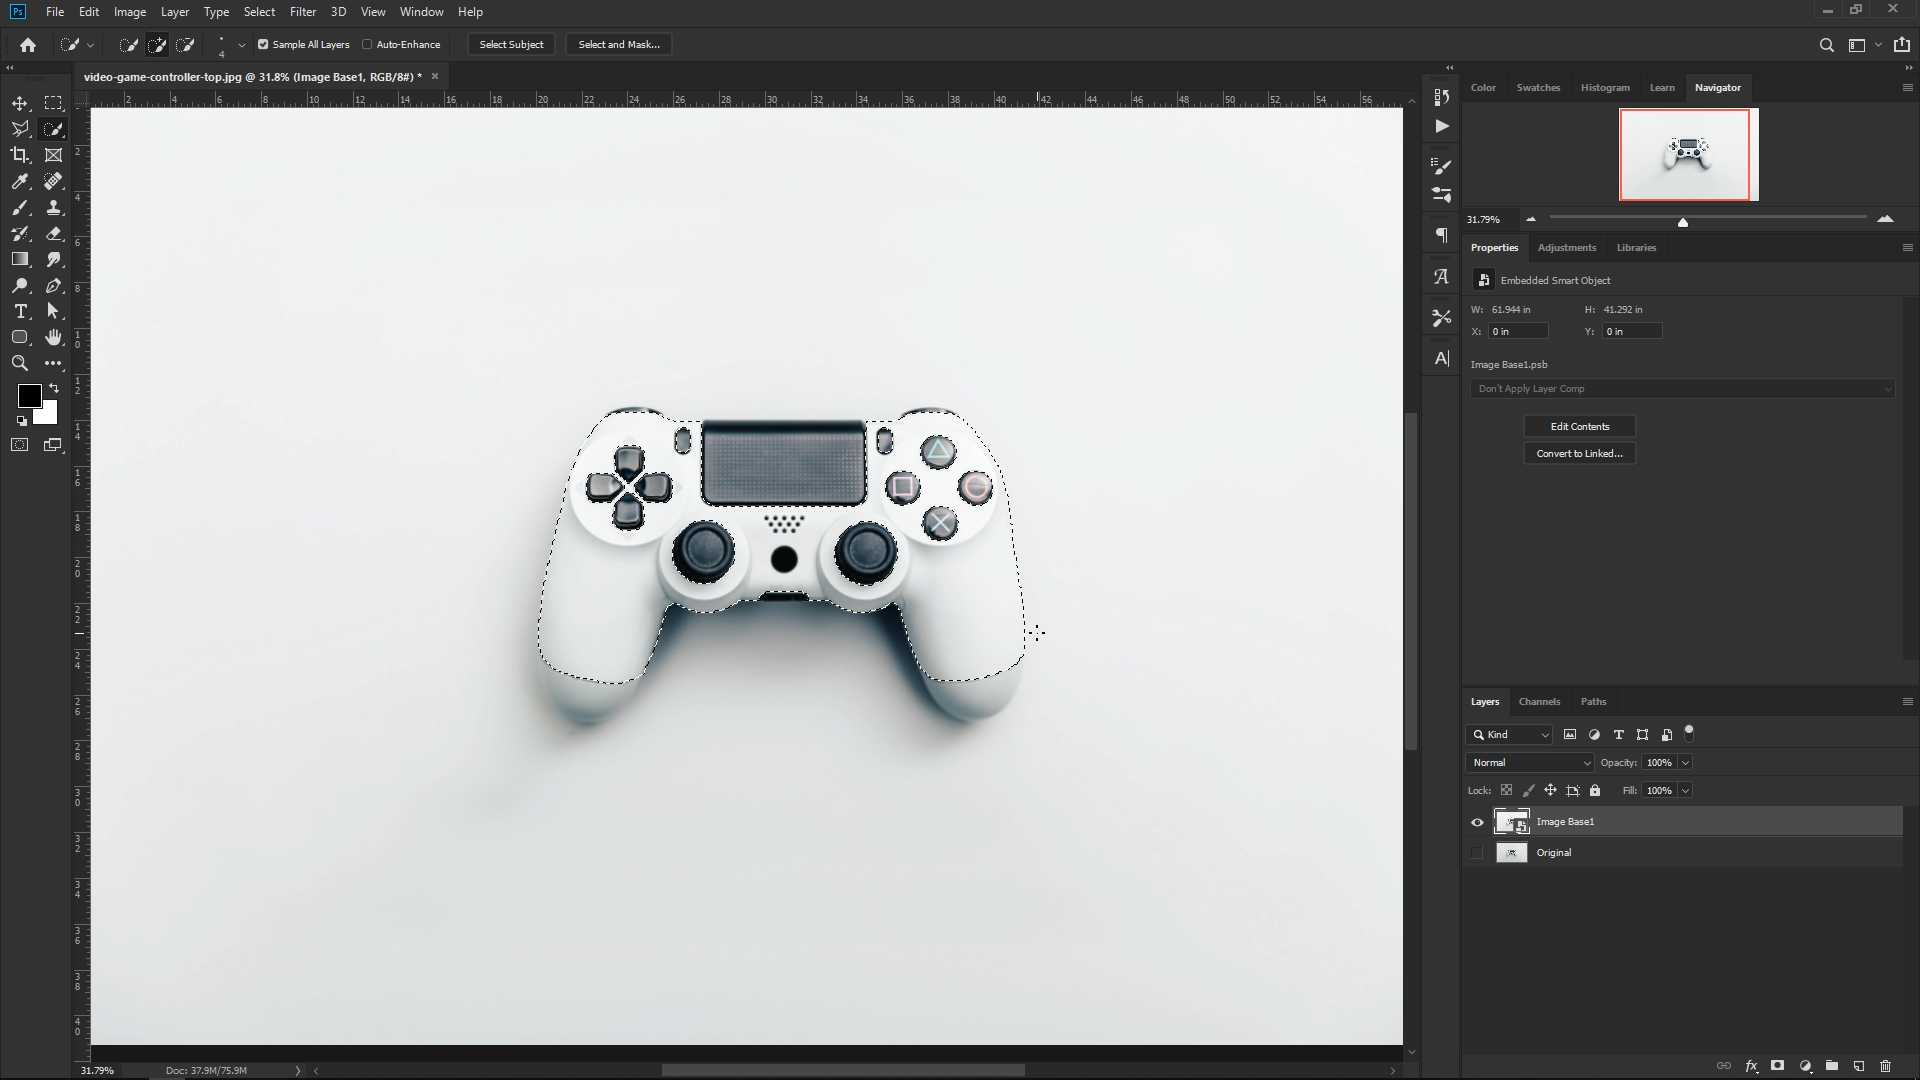
12. Create Layer Mask of Selection
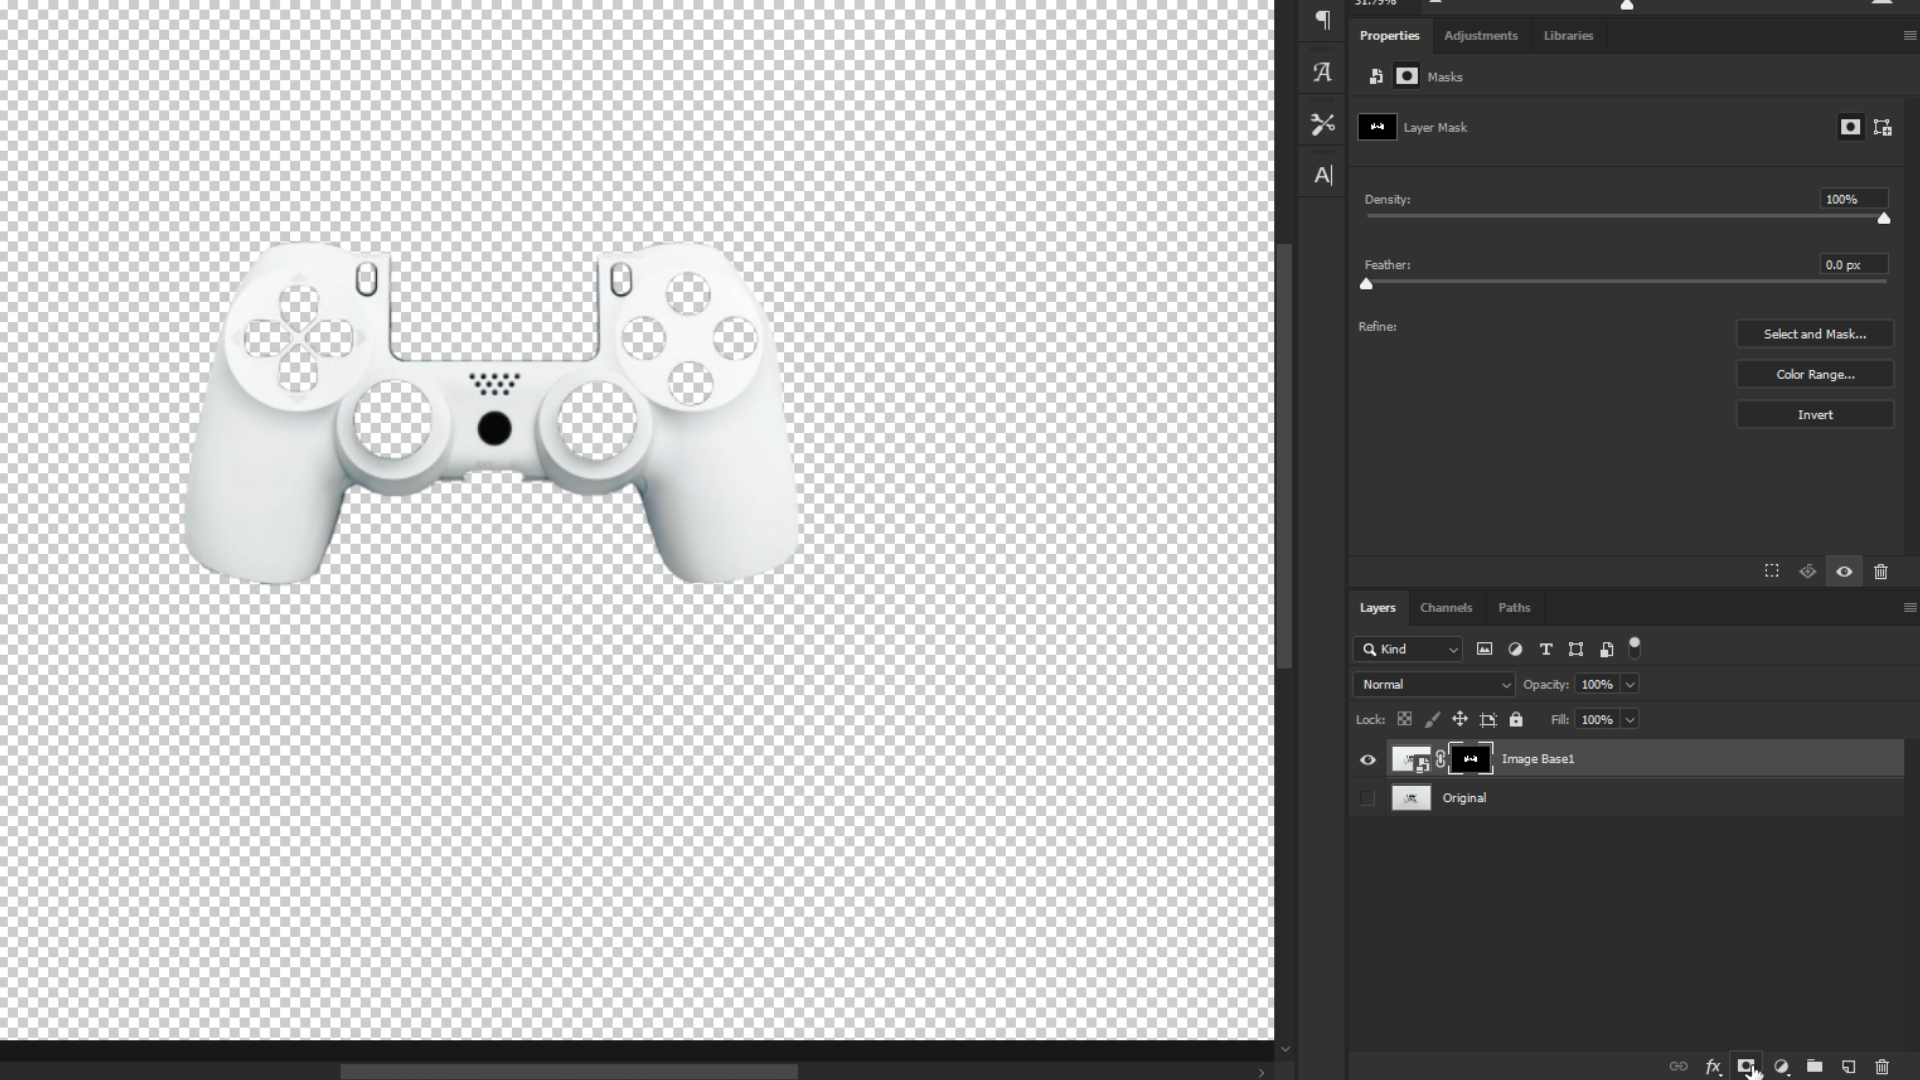
13. Refine Layer Mask
Properties Panel > Select and Mask
14. Save the selection edits
Click 'Ok'
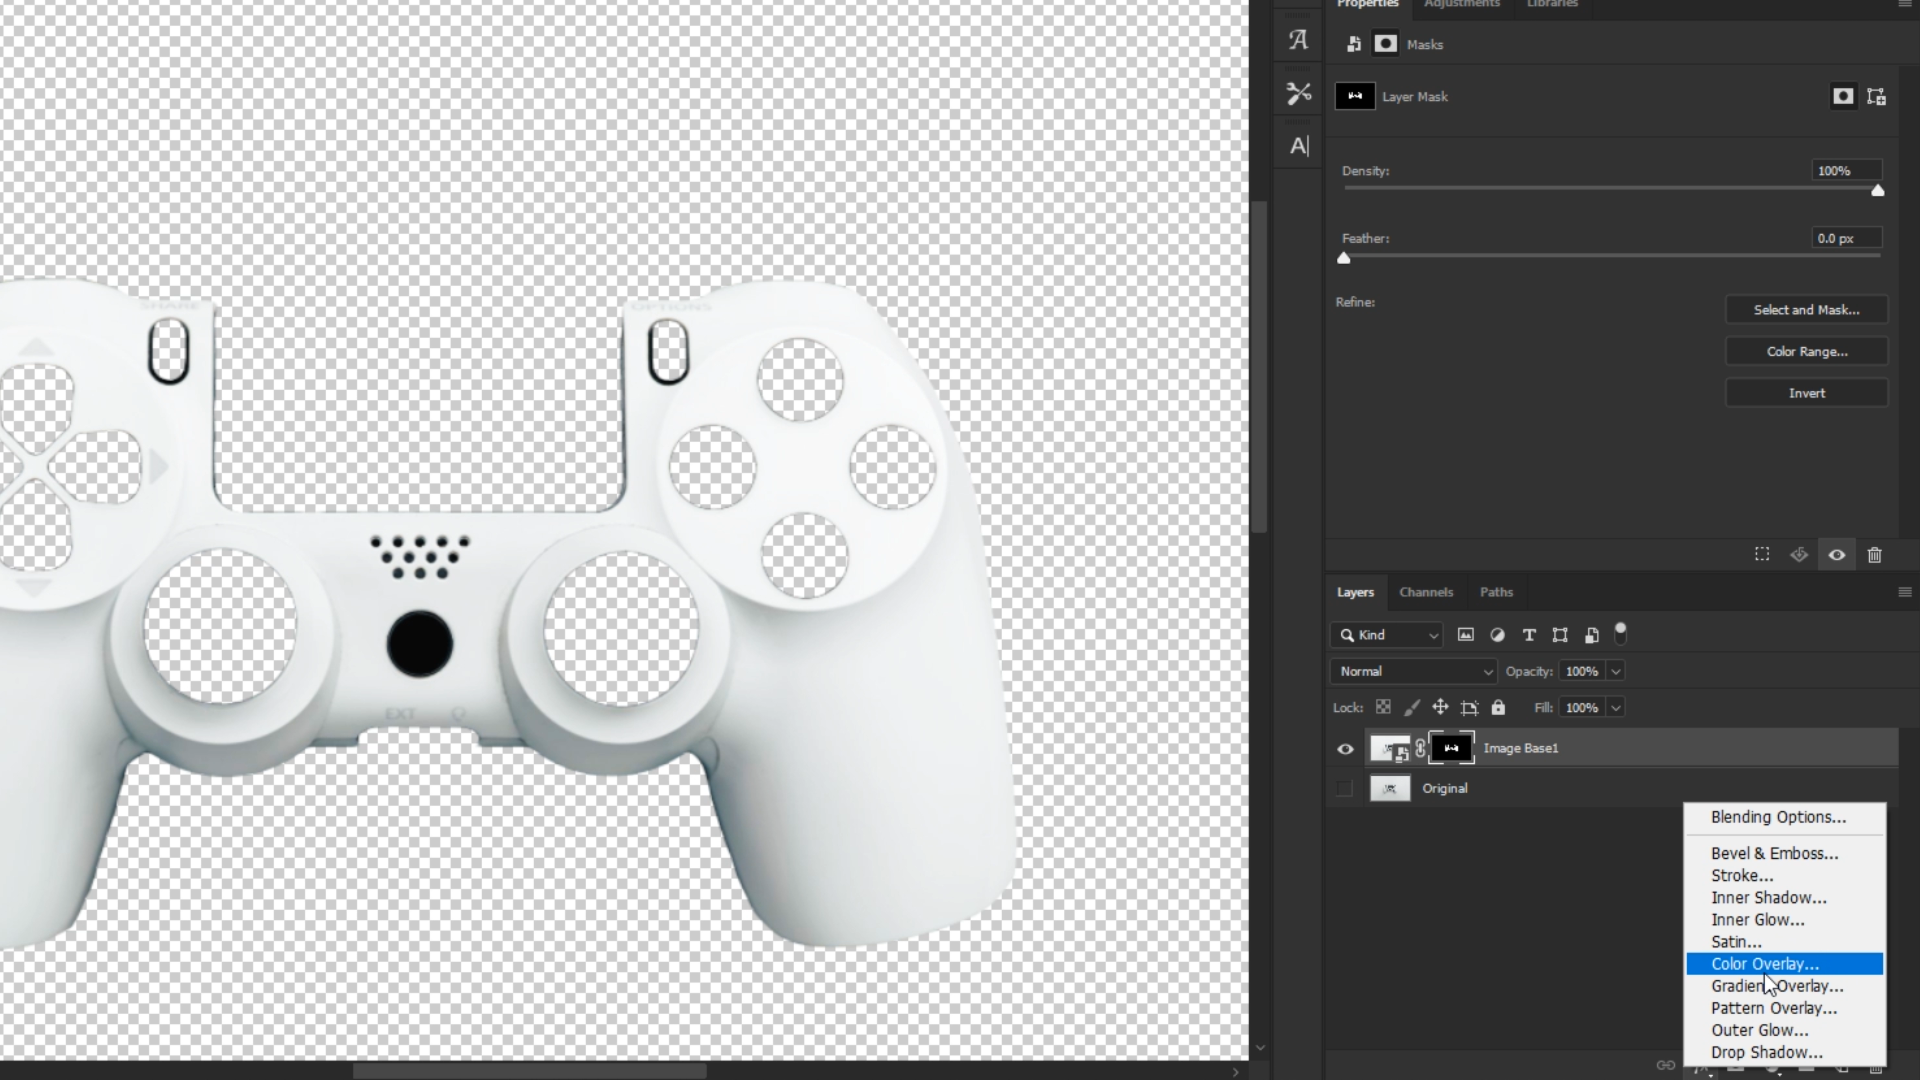
15. Create Color Overlay
fx > Color Overlay
Blending modes: Use to get desired effect for shadows and highlights,
Opacity: Use match color to products option.
This will take some tweaking to match color precisely.
16. Save Color Overlay
Click OK on all menus
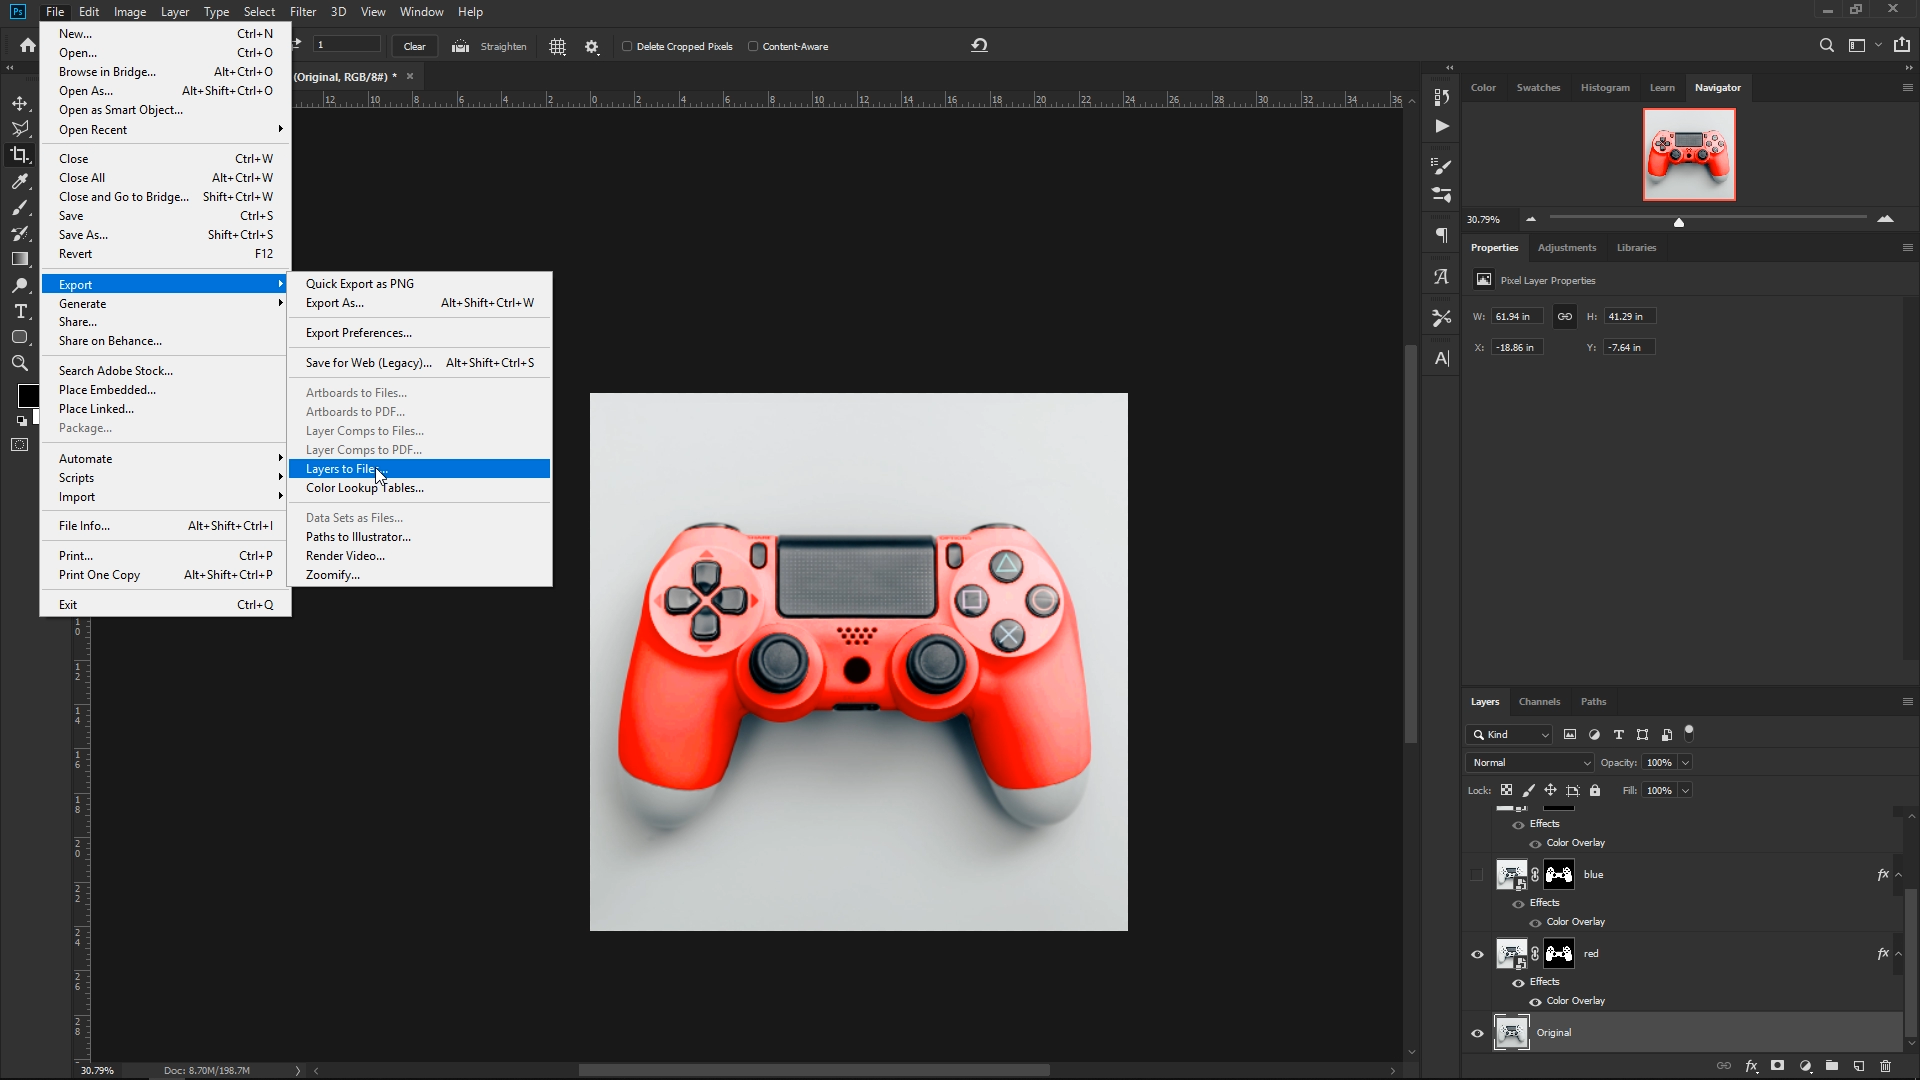
17. Repeat Steps for additional color
Duplicate Layer > Repeat Steps 15 & 16
18. Rename Layers
Duplicate Layer > Repeat Steps 15 & 16
19. Crop Image (Optional)
Use Crop tool (C key) to crop to desired aspect ratio
20. Export Layers
Once edits are complete export the document
File > Export As > Layers to Files
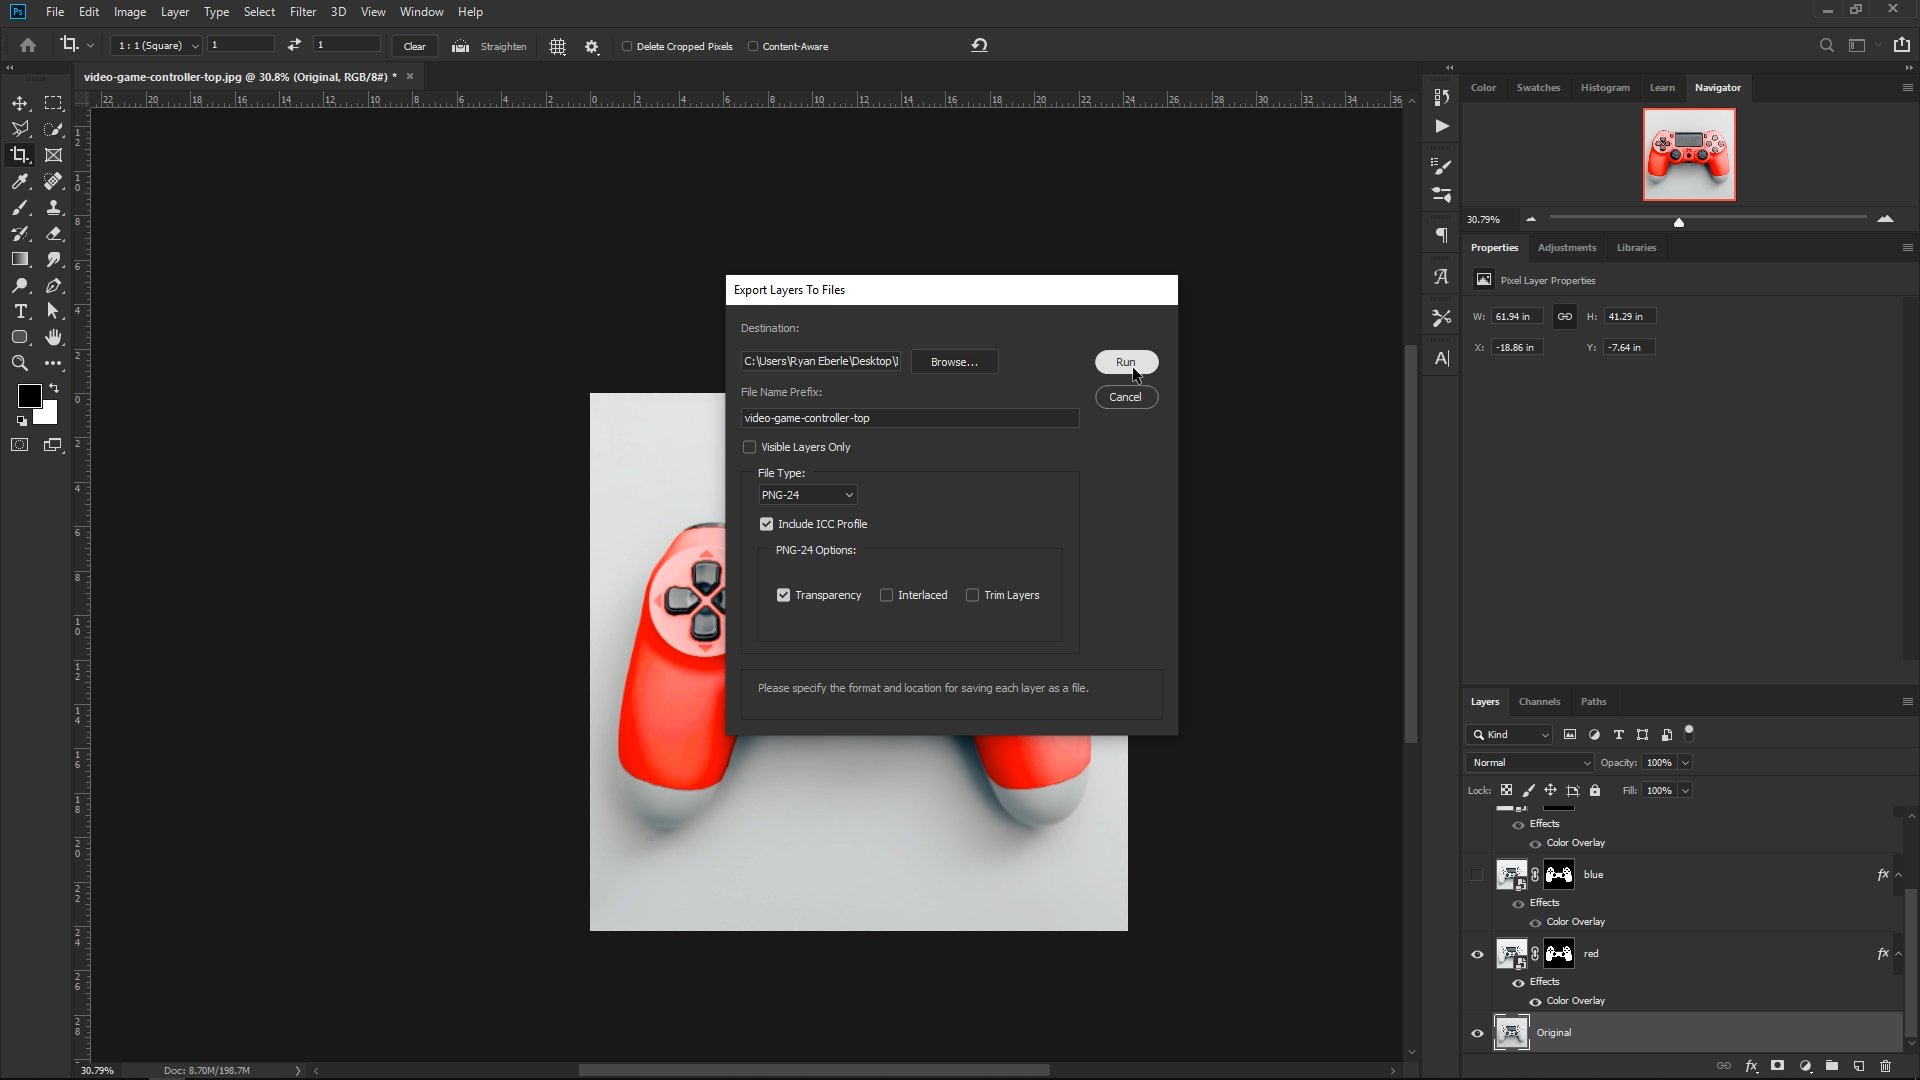
21. File Destination
Once edits are complete export the document
22. Add a prefix (Optional)
This will help organize options when importing
23. PNG-8/24 Options
Transparency: On
Trim Layers: Off
24. File Type
Be sure to set File Type to PNG-8 or 24
25. Execute the Export
Click Run when ready to export. (Once running the PS document will copy itself and cycle through all the layers multiple times. An alert will appear when the script has completed.)Save the document before closing in case future edits need to be made.Your files should now be ready to upload to
If you have any trouble with this tutorial, or need any help, please feel free to email us at: support@w3trends.com