
Overview:
The auto installer was made so that our customers can quickly and easily install the Custom Product Options application without needing to edit any of their theme files. Below, you will find a quick tutorial that will walk you through the steps on how to use this feature.
If your Installation fails, or there are any issues/questions along the way, reach out to us and submit a ticket by Clicking Here.
Tutorial:
Step 1: Duplicate your theme
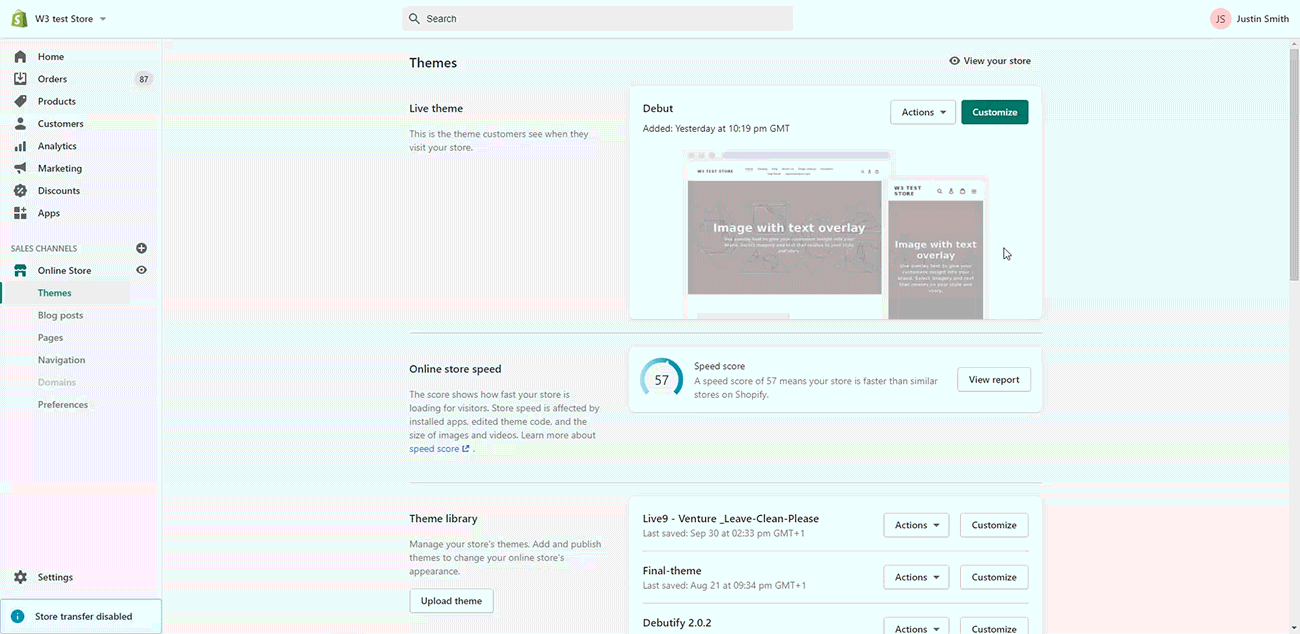
First, you will want to duplicate the theme that you wish to install the app on. You can do this by Clicking on "Online Store", finding the theme you would like to duplicate, clicking on "Actions" and then Click "Duplicate".
Once the theme is duplicated, be sure to name it something descriptive.
Here is a bit more information about duplicating Shopify themes.
Step 2: Run the Auto Installer
Next, Navigate to our app by click on "Apps" and then "Custom Product Options by W3". From here, you will click on the first button that says, "Use Auto Theme Installer".
Once on the Auto Installer page, click on the dropdown list, and select the theme you just duplicated. (Usually the second theme)
Once you have selected the correct theme, please click install.
Please note that our app will not allow you to use the Live theme (First theme in the dropdown).
This is done to protect your live website.
Step 3: Test and Publish
If the installation was successful, you should see a green message pop up. That means it worked! Now, you can go Preview the duplicate theme, and TEST TEST TEST. This is your business! We are confident in our Robot Installer, but nothing is perfect, so be sure to ensure everything is working as you'd like, and once you're ready, you can simply publish that theme by clicking on "Actions" next to the duplicate theme, and then click Publish.
Quick Demonstration:
Please keep in mind that this demonstration does not cover Testing. Be sure to preview your theme and ensure that everything looks/functions how you intended.
(Click to Enlarge)