
Overview:
1If you would like to modify some of the styles within any of our apps, you will have to do so by placing some CSS within your stylesheet.
Please follow the tutorial below on how to find your Stylesheet.
Tutorial:
Step 1: Edit Your Theme
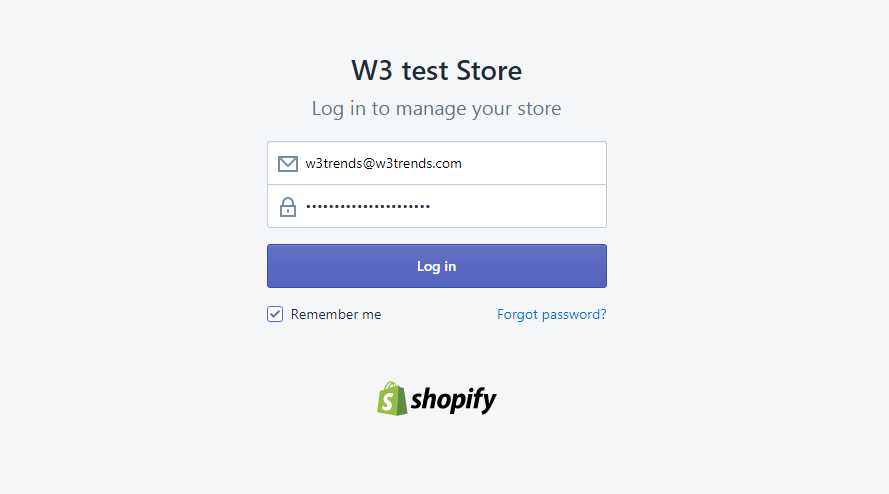
- Sign into your Shopify Store's Admin.
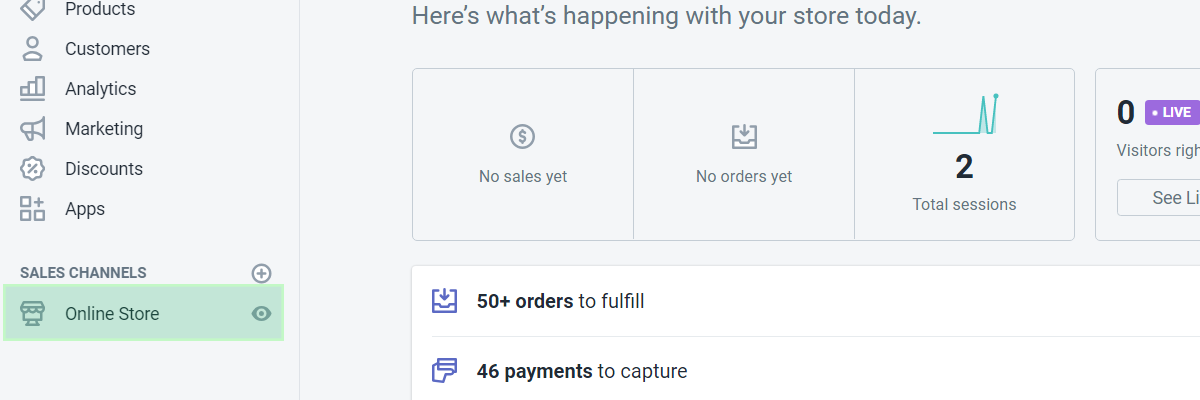
- In the menu on the left hand side, click on the "Online Store" link.
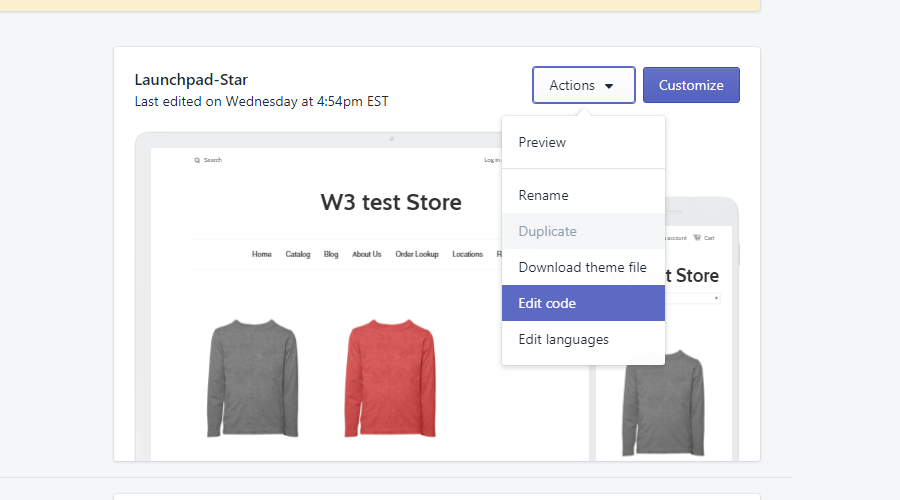
- From here, you will see the list of your themes. Click on the "Actions" button next to the theme you wish to modify, (The top one is the live theme), and select "Edit Code"
Step 2: Locate Stylesheet
- Take a look at the list on the left hand side. These are all of the files that make your theme work! They're separated into sections, or "folders", and we are looking for the "Assets" folder.
- Scroll down until you see the "Assets" folder, and give it a click. It should then expand so that you can see all of your Stylesheets, Javascript files, and most likely a few images.
- We are only looking at the files that end in ".scss.liquid" These are your Stylesheets.
- Typically your main stylesheets will be named one of the following: theme.scss.liquid, styles.scss.liquid, stylesheet.scss.liquid, main.scss.liquid, or if none of those are present, you may have a timber.scss.liquid file.
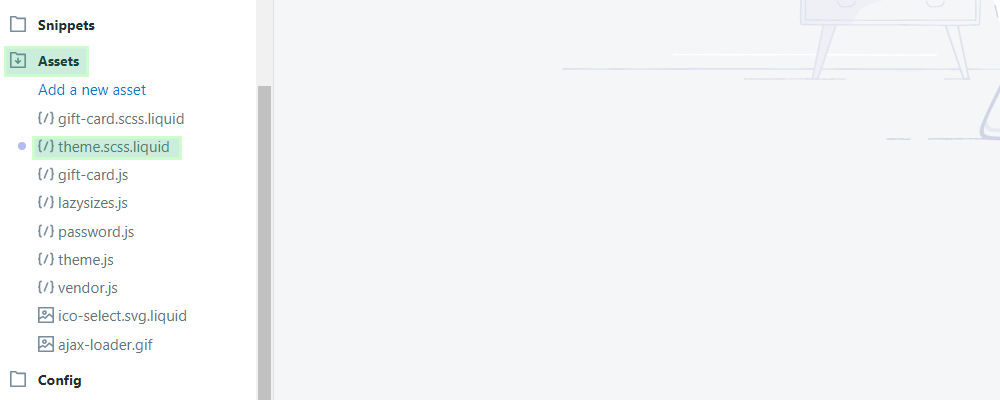
- I have listed them in order of importance, so if you have more than one of these, click the one that appears first in this list: theme.scss.liquid, styles.scss.liquid, stylesheet.scss.liquid, and only use timber.scss.liquid if none of the others are available.
Step 3: Make Your Changes and Save!
- Once your Stylesheet is open, scroll to the VERY bottom of the file and paste or write out any CSS that you wish to modify.
(I have added a comment that says, /*--Place your Custom CSS Below--*/ ).
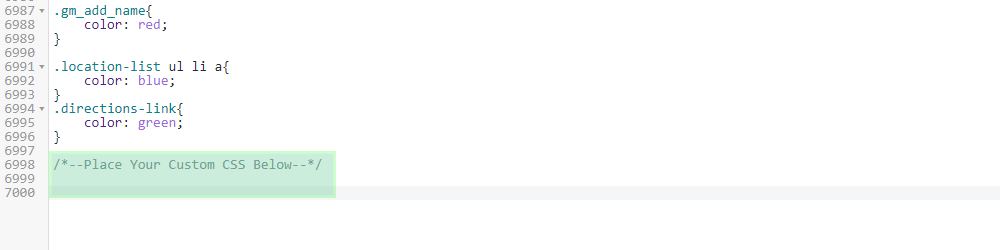
- When you are done, click the "Save" button, and as long as your CSS was written correctly, your changes should now appear on the website!
If you have any trouble with this tutorial, or need any help, please feel free to email us at: support@w3trends.com