
Overview:
The Custom Product Options application uses the native Shopify file uploader. If you are not satisfied with this uploader, you can opt to use a File Stack file uploader, which will allow for your files to exceed the 20MB filesize limit set by Shopify, as well as some other cool features.
File Stack may be a paid service if you exceed certain usage limits. If you would like to learn more about File Stack, please feel free to take a look at their website here: https://www.filestack.com/
Tutorial:
1) Create a filestack.com account.
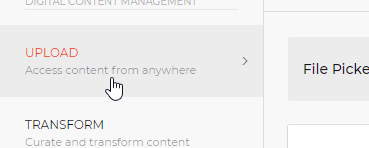
2) Get API key:
Click upload
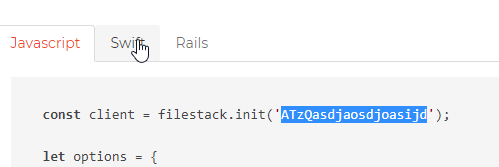
Copy key from right side (the highlighted part)
3) Add to theme.liquid and replace API KEY GOES HERE with your API key.
<script src="//static.filestackapi.com/filestack-js/1.x.x/filestack.min.js"></script>

 <script>
 var fsClient = filestack.init('API KEY GOES HERE');

 function fieldAddedCallback(field, element) {

if(element.hasClass("uploader")) {
 element.find("input").remove();
 element.append("<input type='hidden' name='properties[" + field.name + "]' class='fileupload' />");
 element.append("<input type='hidden' name='properties[" + field.name + " Filename]' class='fileuploadname' />");

 element.append("<span class='labelname'></span>");
 element.append("<button type='button'>Select File</button>");


 element.find("button").click(function() {

 var options = {
 "maxFiles": 1,
 "accept": [
 "image/jpeg",
 "image/jpg",
 "image/png",
 "image/bmp",
 "image/gif"
 ],
 "uploadInBackground": false,
 onUploadDone: updateForm
 };

 fsClient.picker(options).open();

 function updateForm (result) {
 var fileData = result.filesUploaded[0];

 console.log(fileData);

 element.find("input").val(fileData.url);
 element.find(".fileuploadname").val(fileData.filename);
 element.find(".labelname").text(fileData.filename);

};


 });
 }
 }
 </script>
4) In product options, create a textbox and add the class "uploader" under settings. This textbox will now be replaced with the fileuploader.
You can tweak any filestack settings you want or upload anywhere filestack.com allows under your account.